How to Build a Light Box
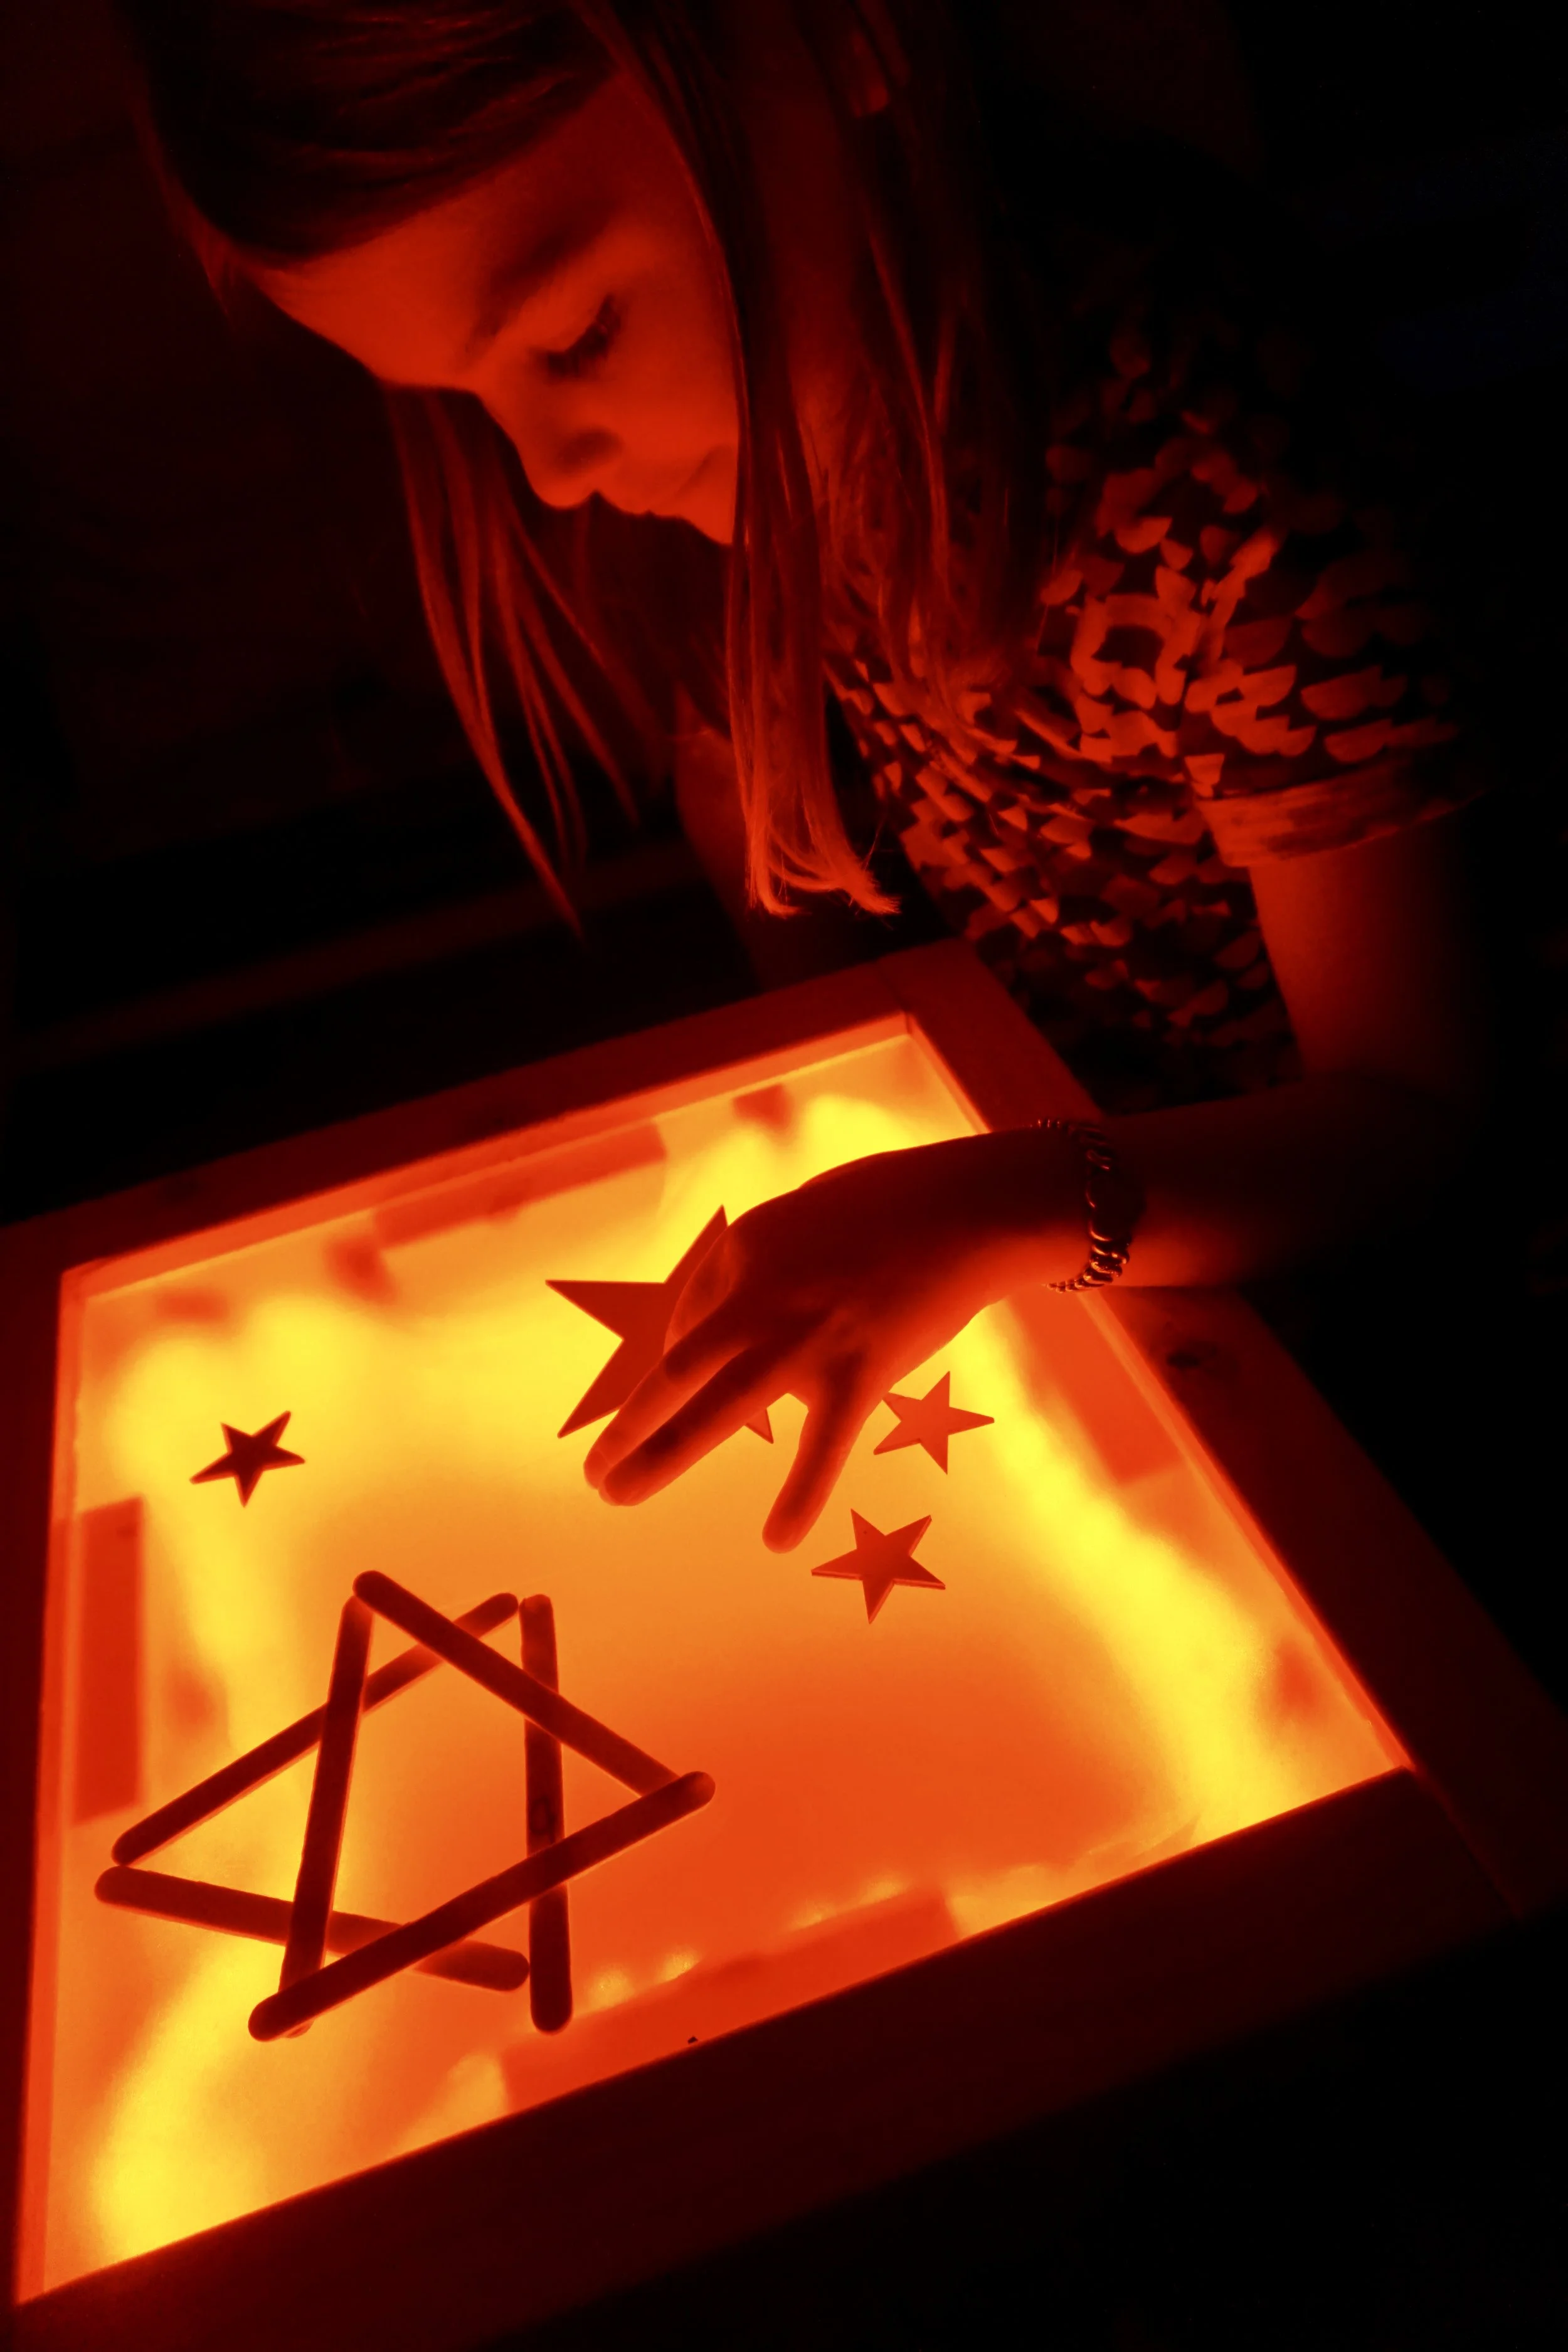
One of the key principles of the Reggio Emilia approach is the idea of "transparency." In a classroom, you can create transparency through light that infuses every space and in the mirrors, light tables, and glass jars that catch and reflect the light around the classroom. This also serves as a beautiful metaphor to the openness of ideas and theories from other parents and the availability of information to parents and visitors.
Recently, when I visited the Boulder Journey School, I was inspired to see several small light tables sprinkled around the classroom. In one classroom in particular, they had a cozy corner with pillows, books, and a small one foot light table with available materials. I thought it was such a lovely space for a child to relax, quietly play, or calm down.
Upon returning to Roots & Wings, I wanted to see if we could make our own light table. You can purchase a new one for a minimum of $250-$400. The kind folks at the Boulder Journey School shared these instructions for building a One Foot Square Light Box.
How to Build a One Foot Square Light Box
Parts List:
2 2”x6” boards @ 12” in length
2 2”x6” boards @ 15” in length
4 1”x2” boards @ about 4” in length
8 3” (or longer) wood screws
8 1¾” wood screws
1 piece of 12”x12” frosted acryllic sheet
Roll of electric tape
Coarse and fine sandpaper (for random-orbit sander or hand sander)
Tools List:
Saw - hand or power
Drill
Drill bit set
1” paddle or spade bit
2 16” or bigger clamps
Random-orbit sander or hand sander
Pencil
Build Guide:
These light boxes are made using 2”x6” wood boards. They typically use thicker wood and thicker plexiglass, so that children can sit and stand on the tables, but you can use 1”x6” wood and thinner plexiglass if you want.
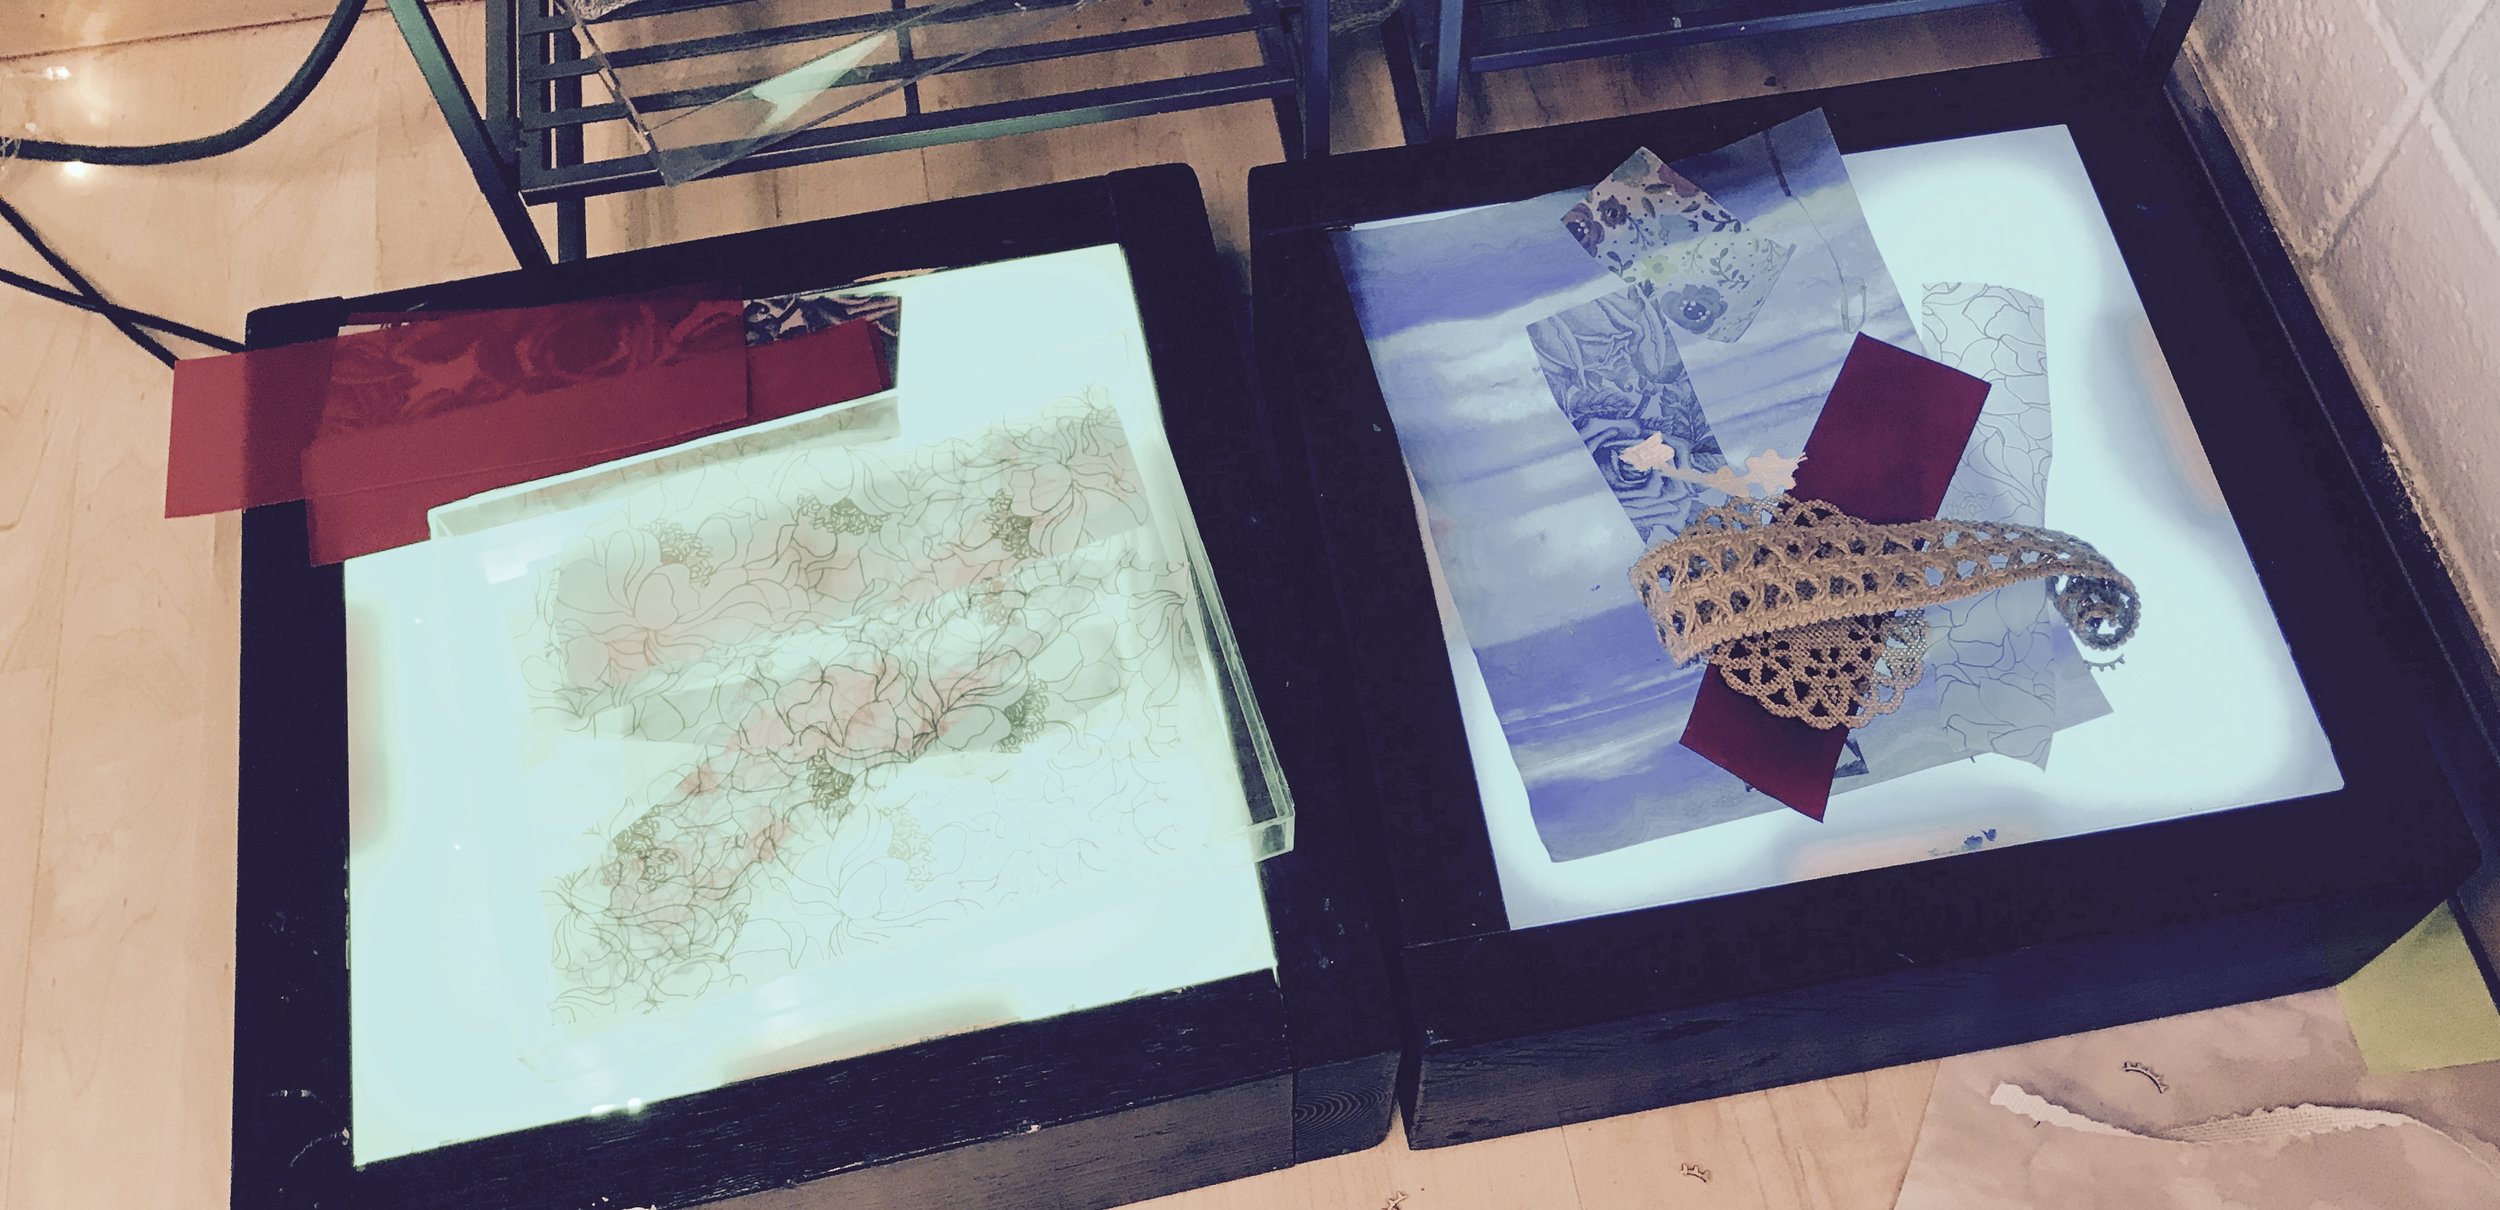
12" x 12" Light Box, Boulder Journey School
Light Box, Boulder Journey School
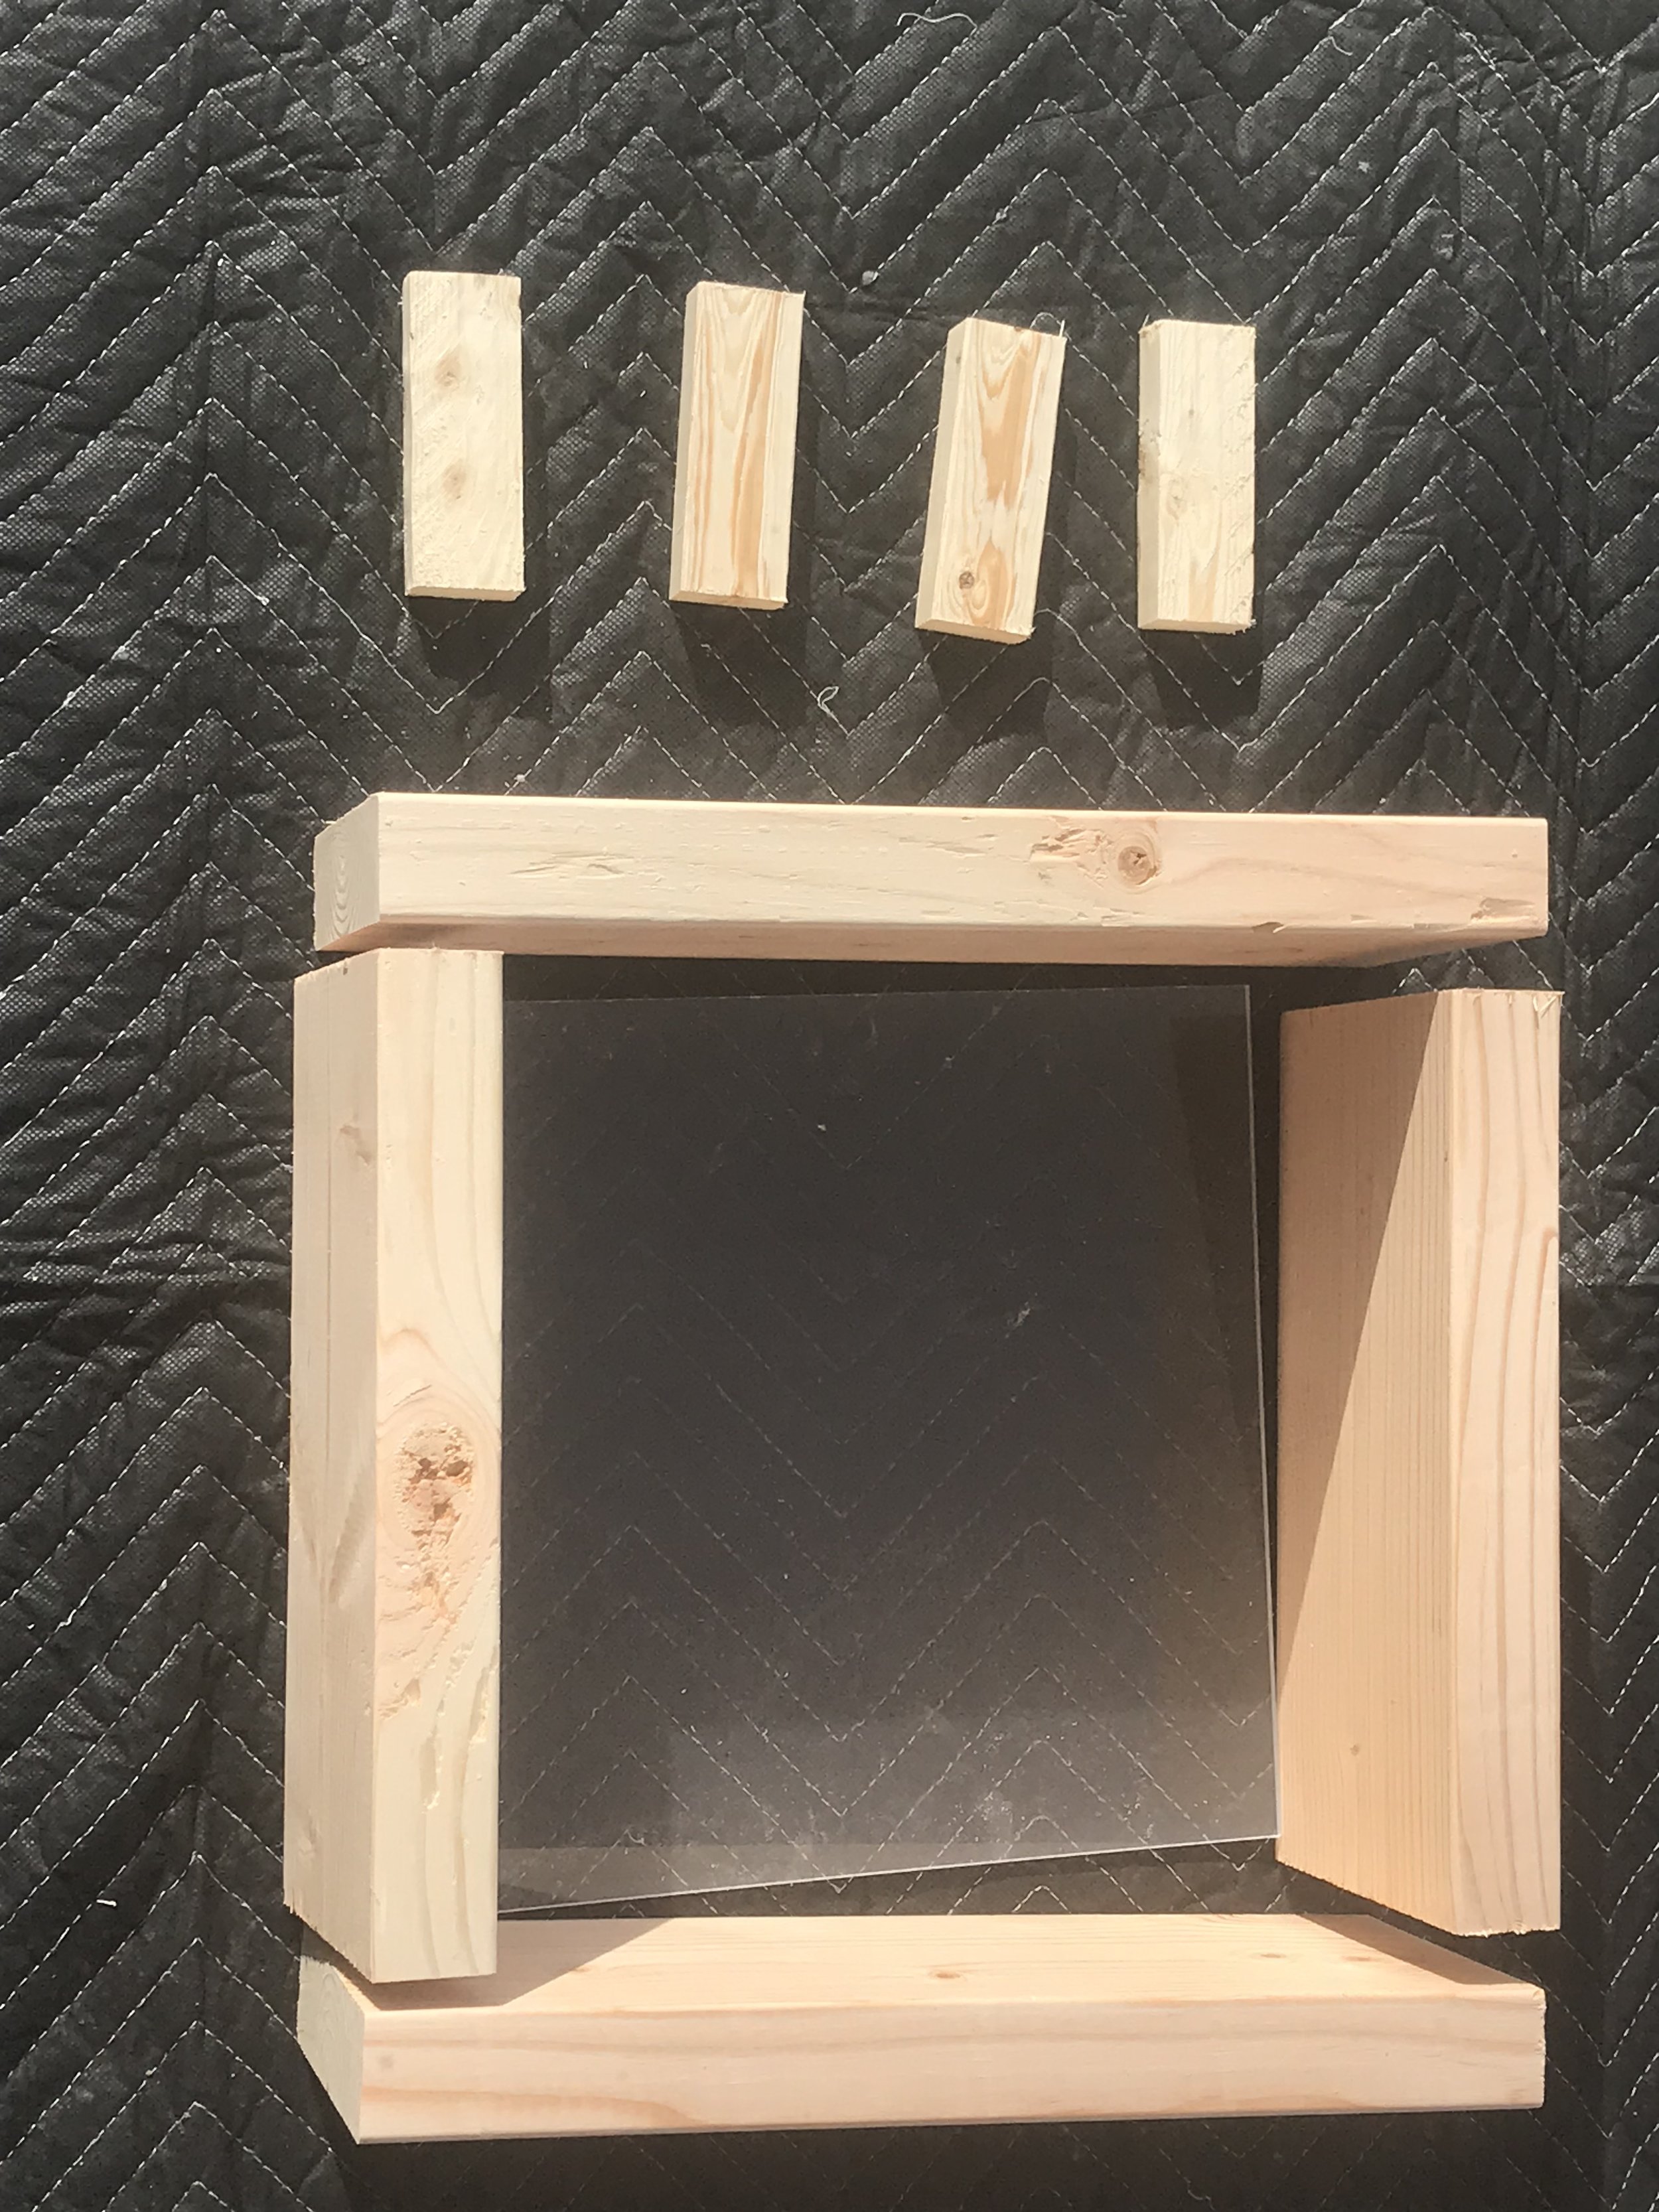
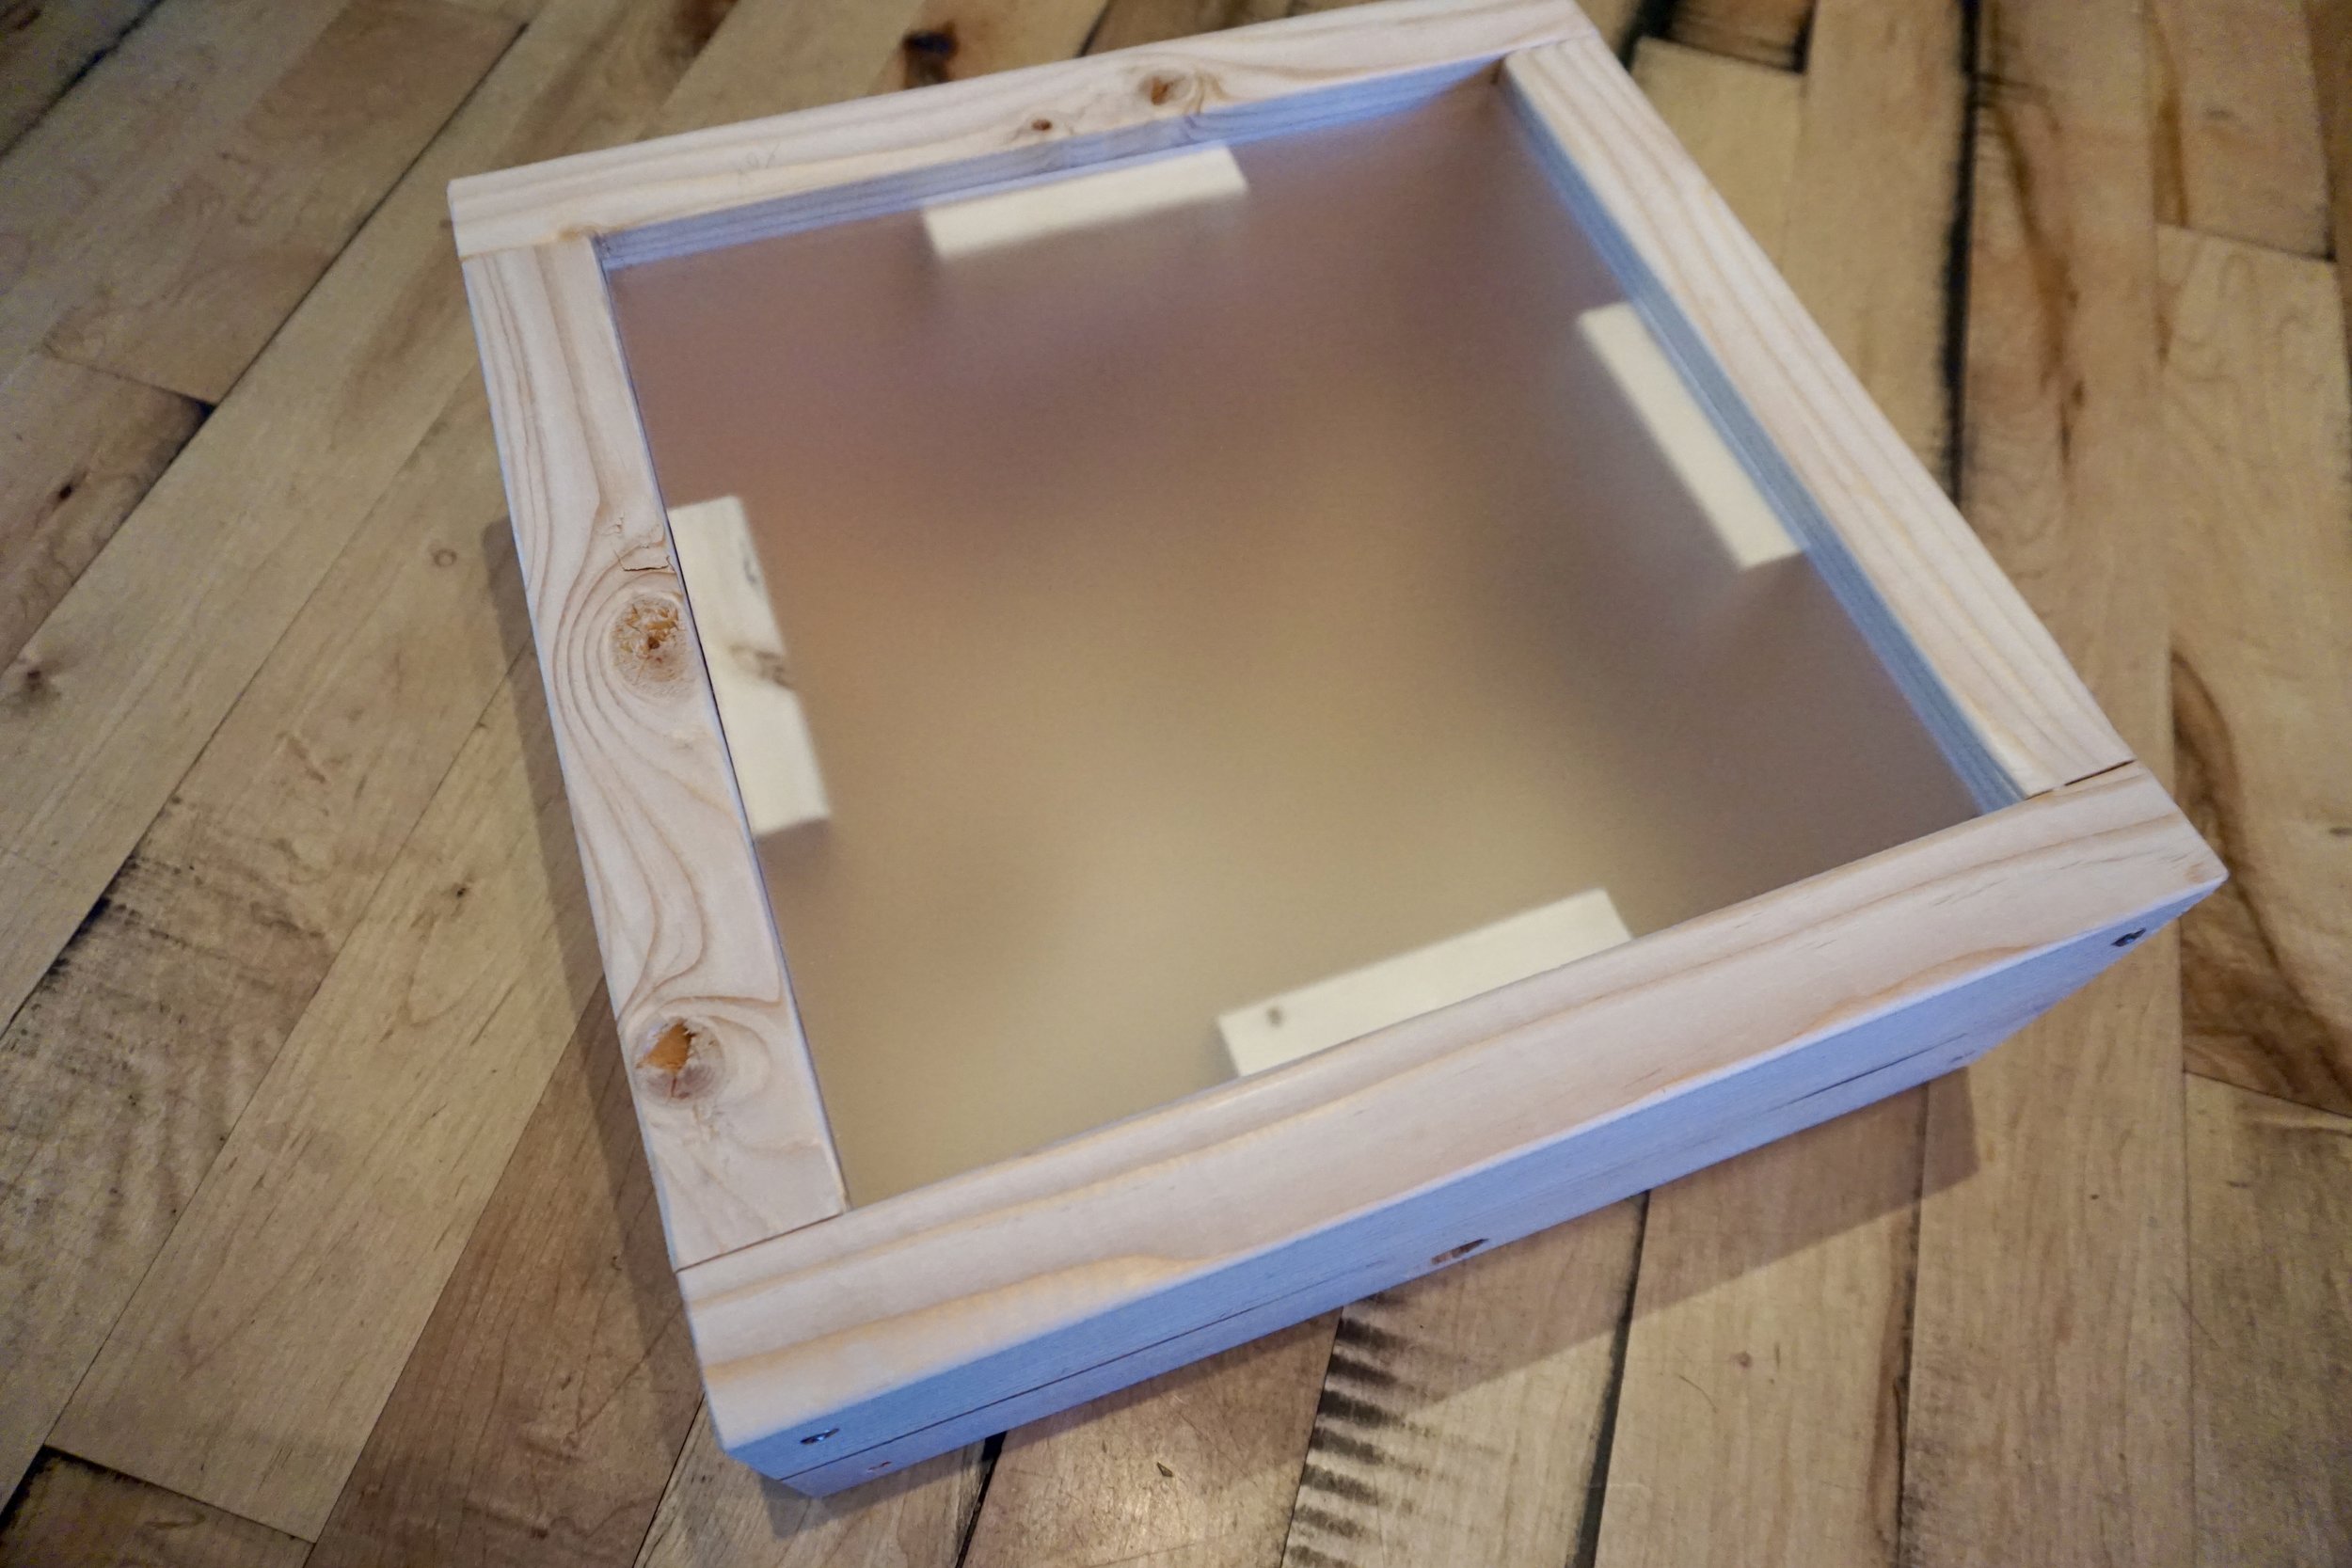
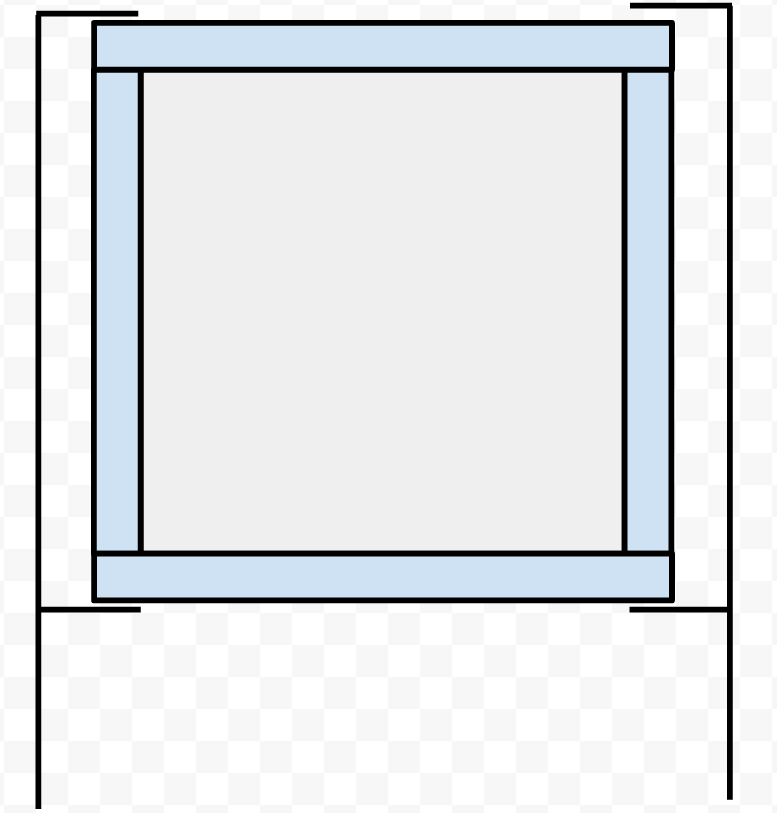
Begin by making a square frame with the 2”x6” boards, using butt joints (where 2 piece butt against one another at a 90 degree angle). Placing the acrylic on the work surface as a guide, line the four pieces of pine up around the acrylic and clamp the wood together using the 2 clamps. The clamps should be placed in the middle of the wood, so about 3” down from the top of the 2”x6”. Make sure that the wood is clamped tightly around the acrylic. If you see any gaps, you may need to adjust or cut your wood.
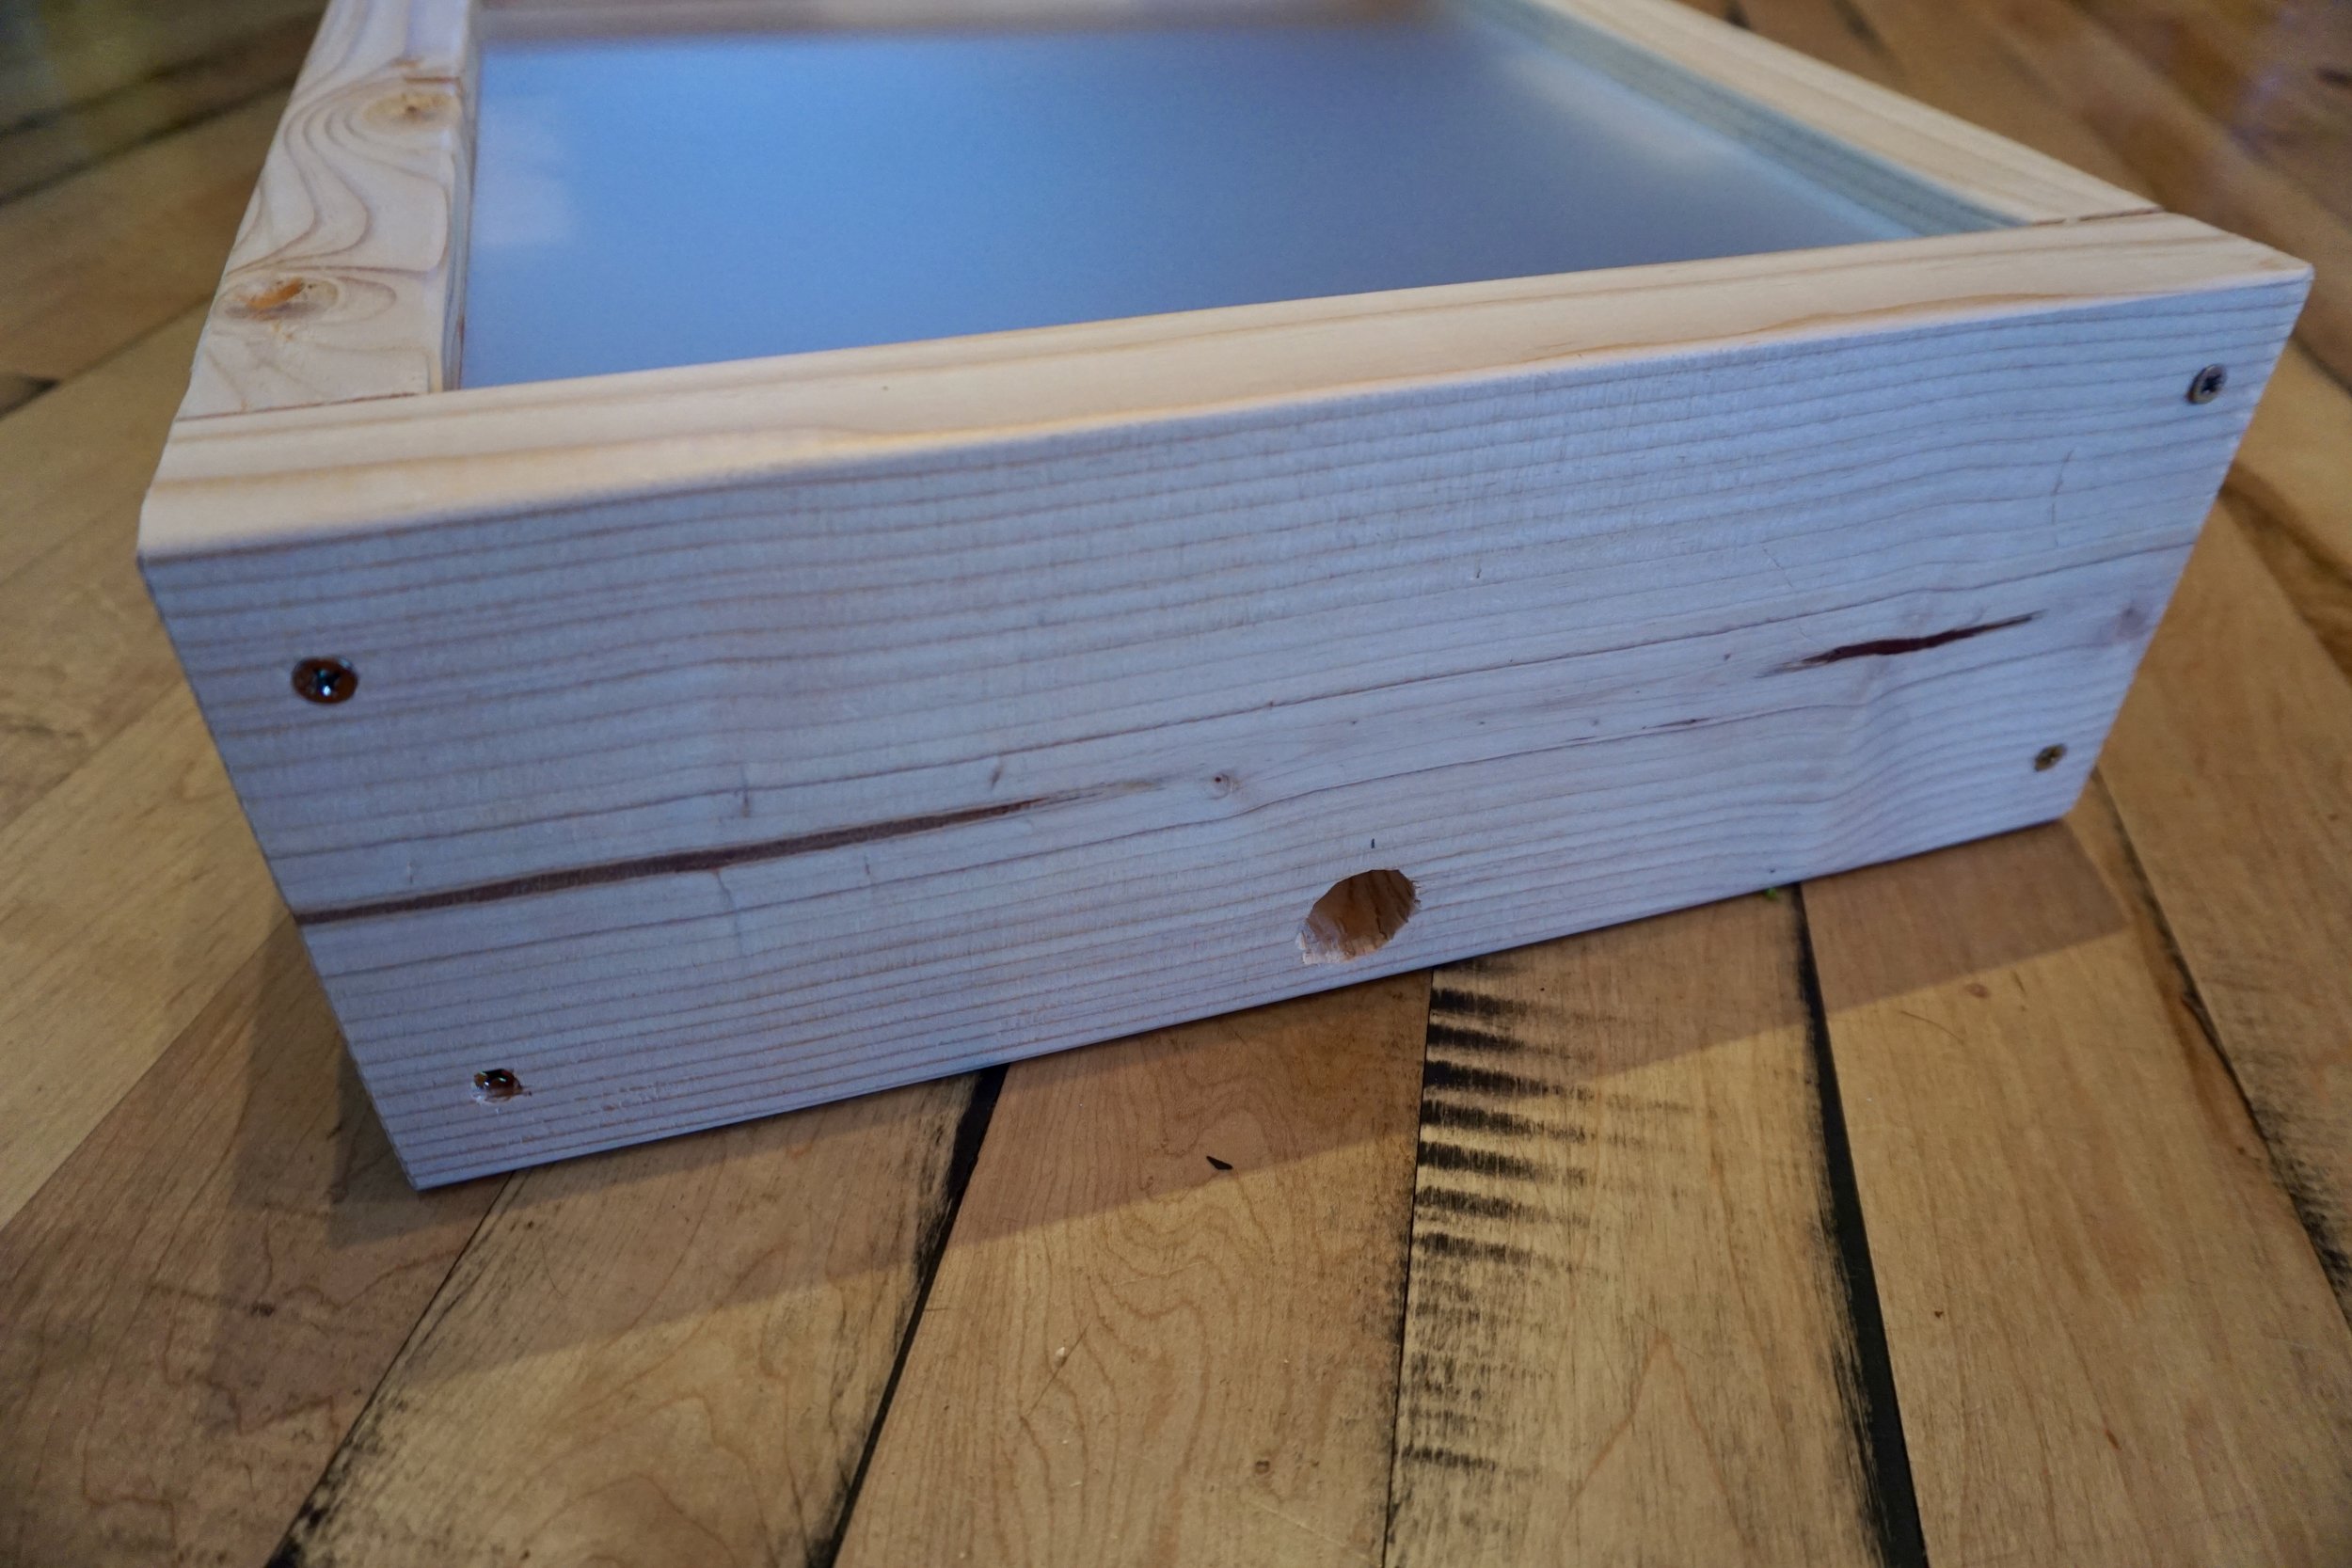
Using a drill bit that is slightly smaller than the threaded end of your screws, pre-drill the top and bottom of the longer pine boards, about 1” from the top and bottom, and about ¾” from the edge. Make sure you pre-drill at least 2” deep.
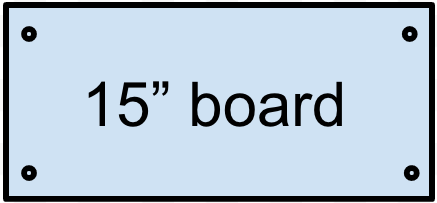
Once you have pre-drilled your two pieces of 15” pine, use your drill to screw in your 3” wood screws.
Remove the clamps.
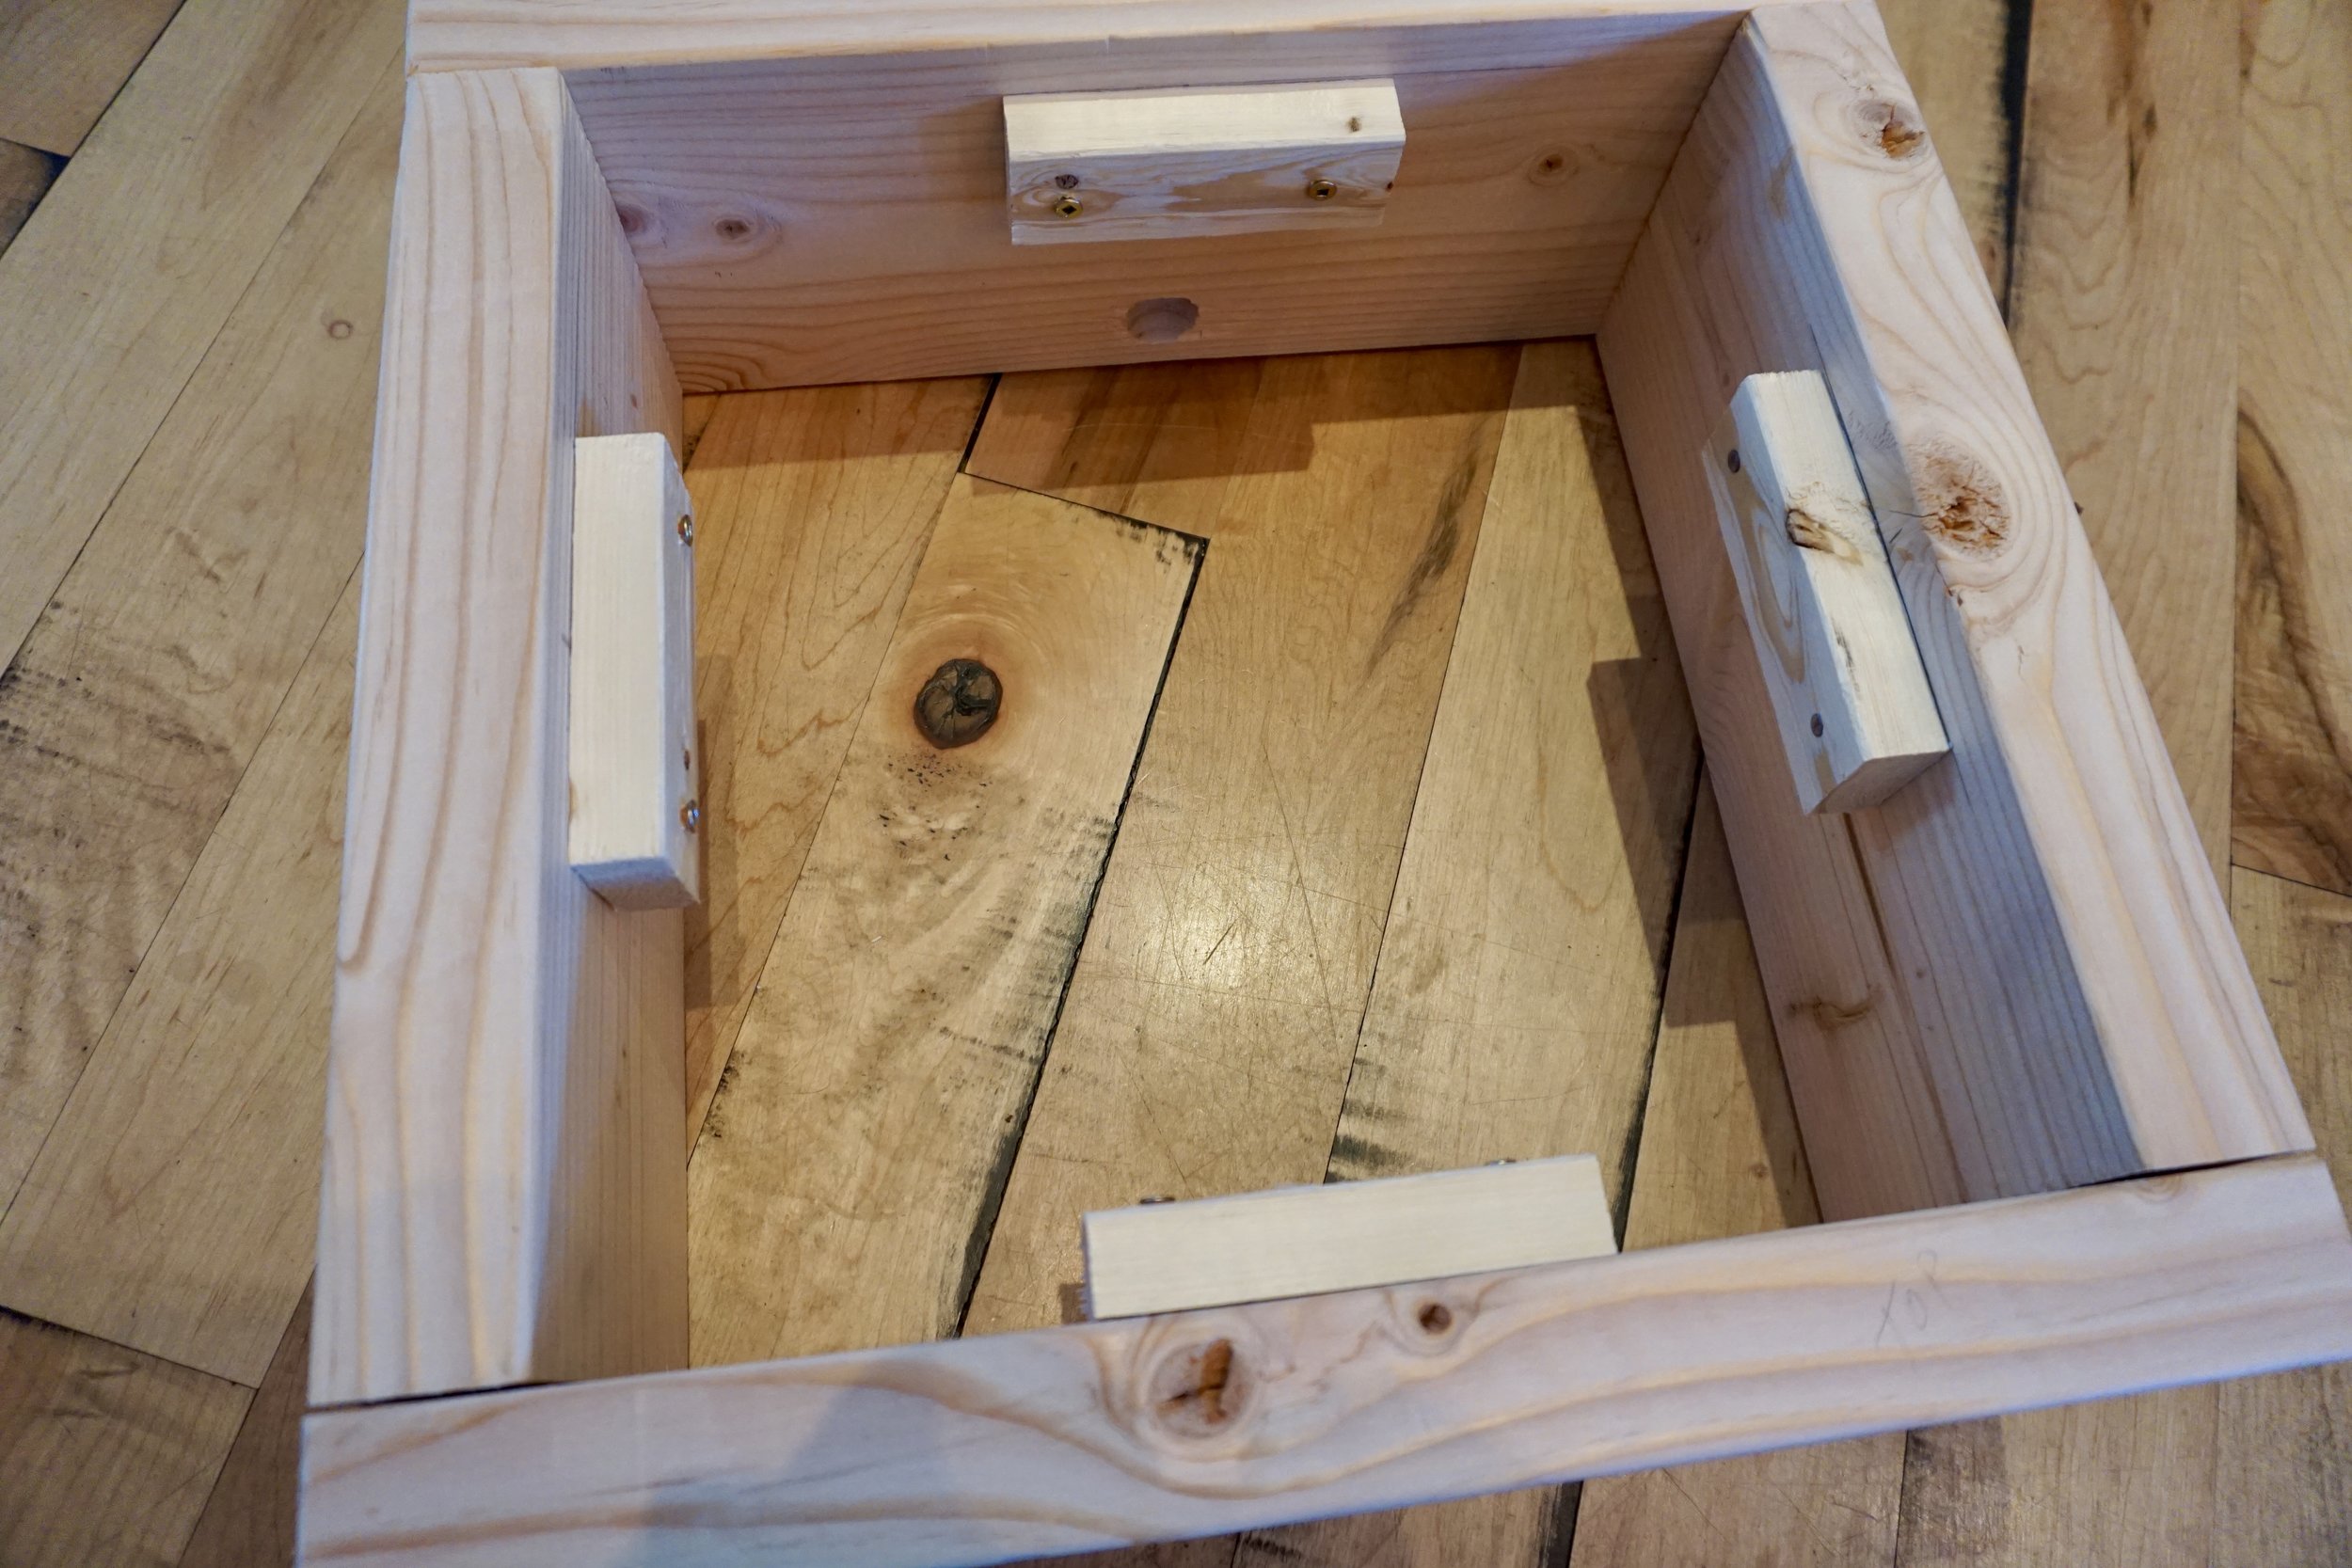
Place your 4 1”x2” boards inside the box on the center of each of the four sides. This will keep your acrylic from falling into the box. Mark the placement of the pieces with the pencil.
Stand the box upright so it is on one of the four ends and remove the acrylic to prevent damaging it.
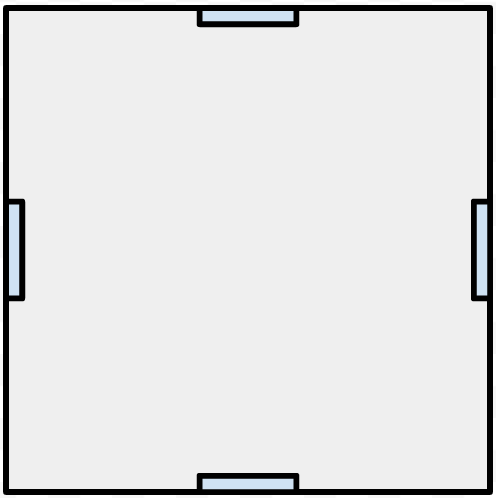
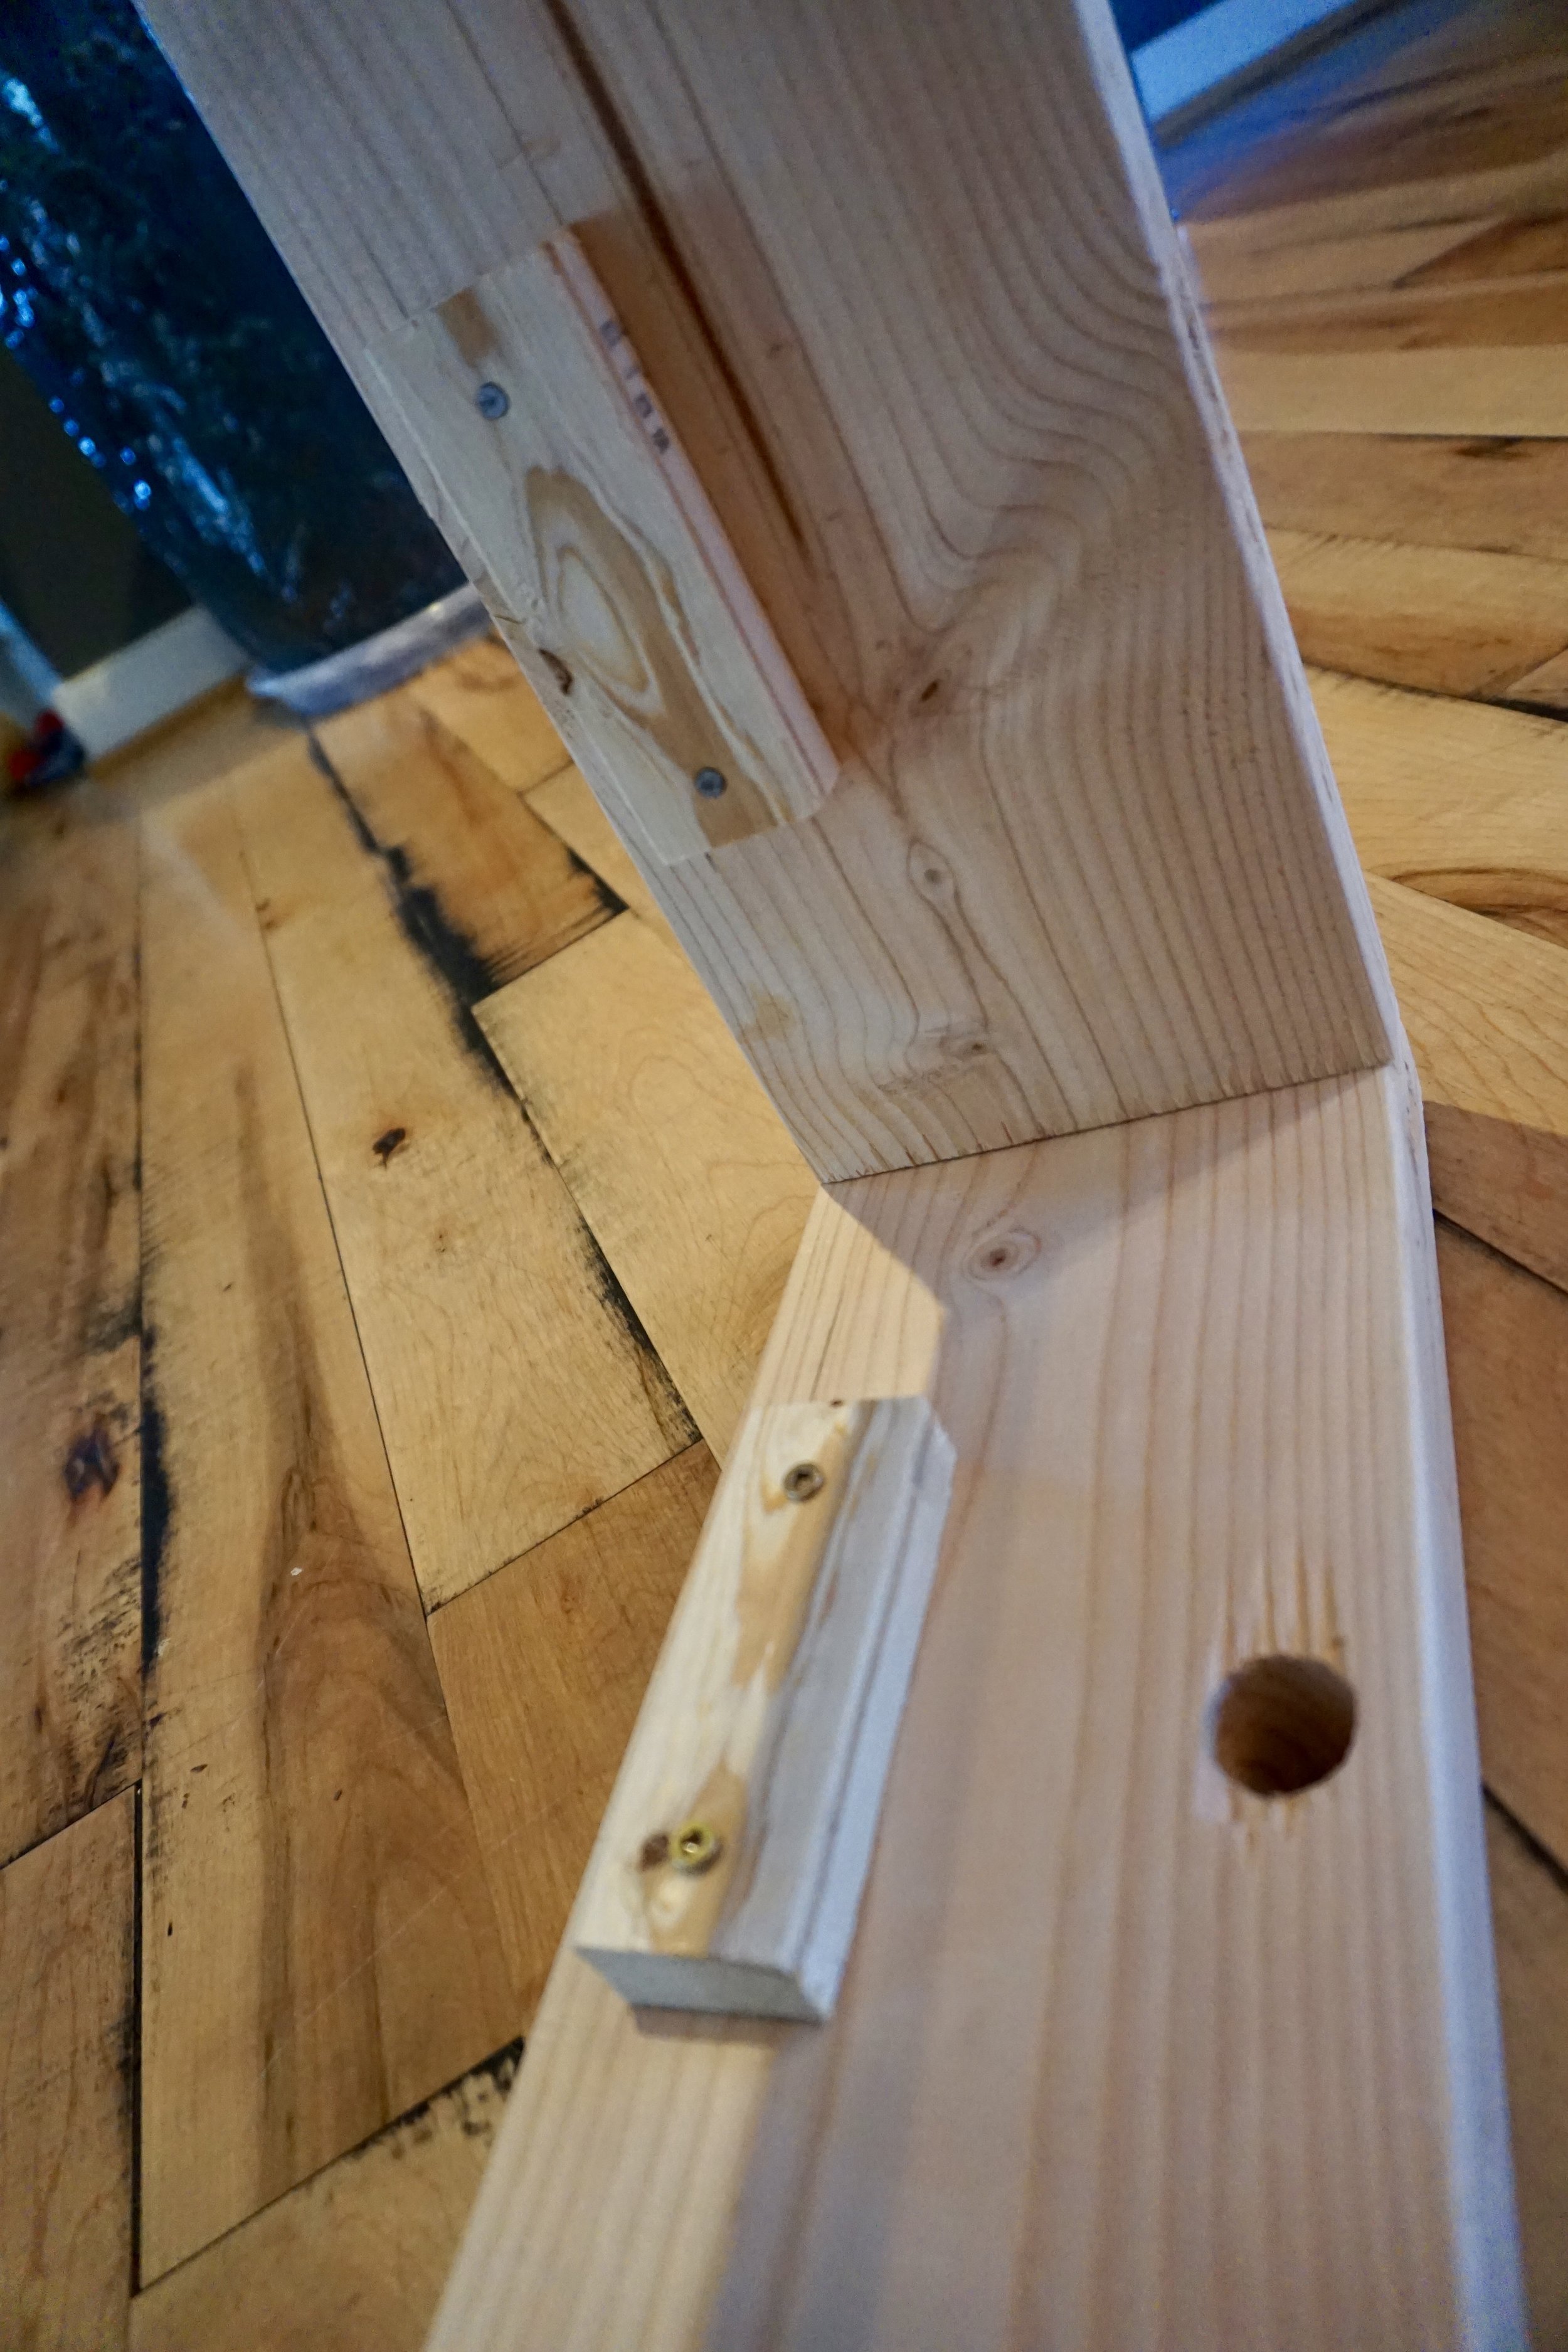
Align one of the 1”x2” boards using the pencil marks. Again, pre-drill about 1” in from the edge of the board using a bit slightly smaller than the threaded end of your 1¾” screws. Make sure you do not drill more than 1” deep, so you do not drill through your entire box. Flip the box onto each side and repeat until there is a block on each of the inside faces of the box.

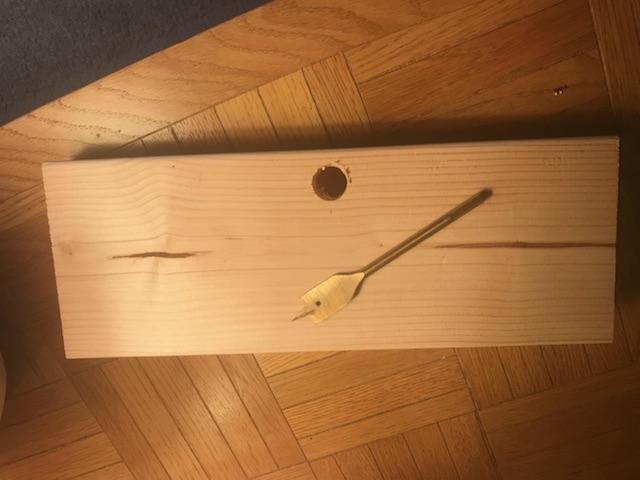
Using the 1” paddle bit, drill a hole towards the bottom of the box on one of the 12” pine sides because you can see the butt joint seam on these 2 sides.
Sand the exterior of the box using the coarse sandpaper first and then the fine sandpaper until smooth. If you want to paint or stain your box, now is the best time to do this.
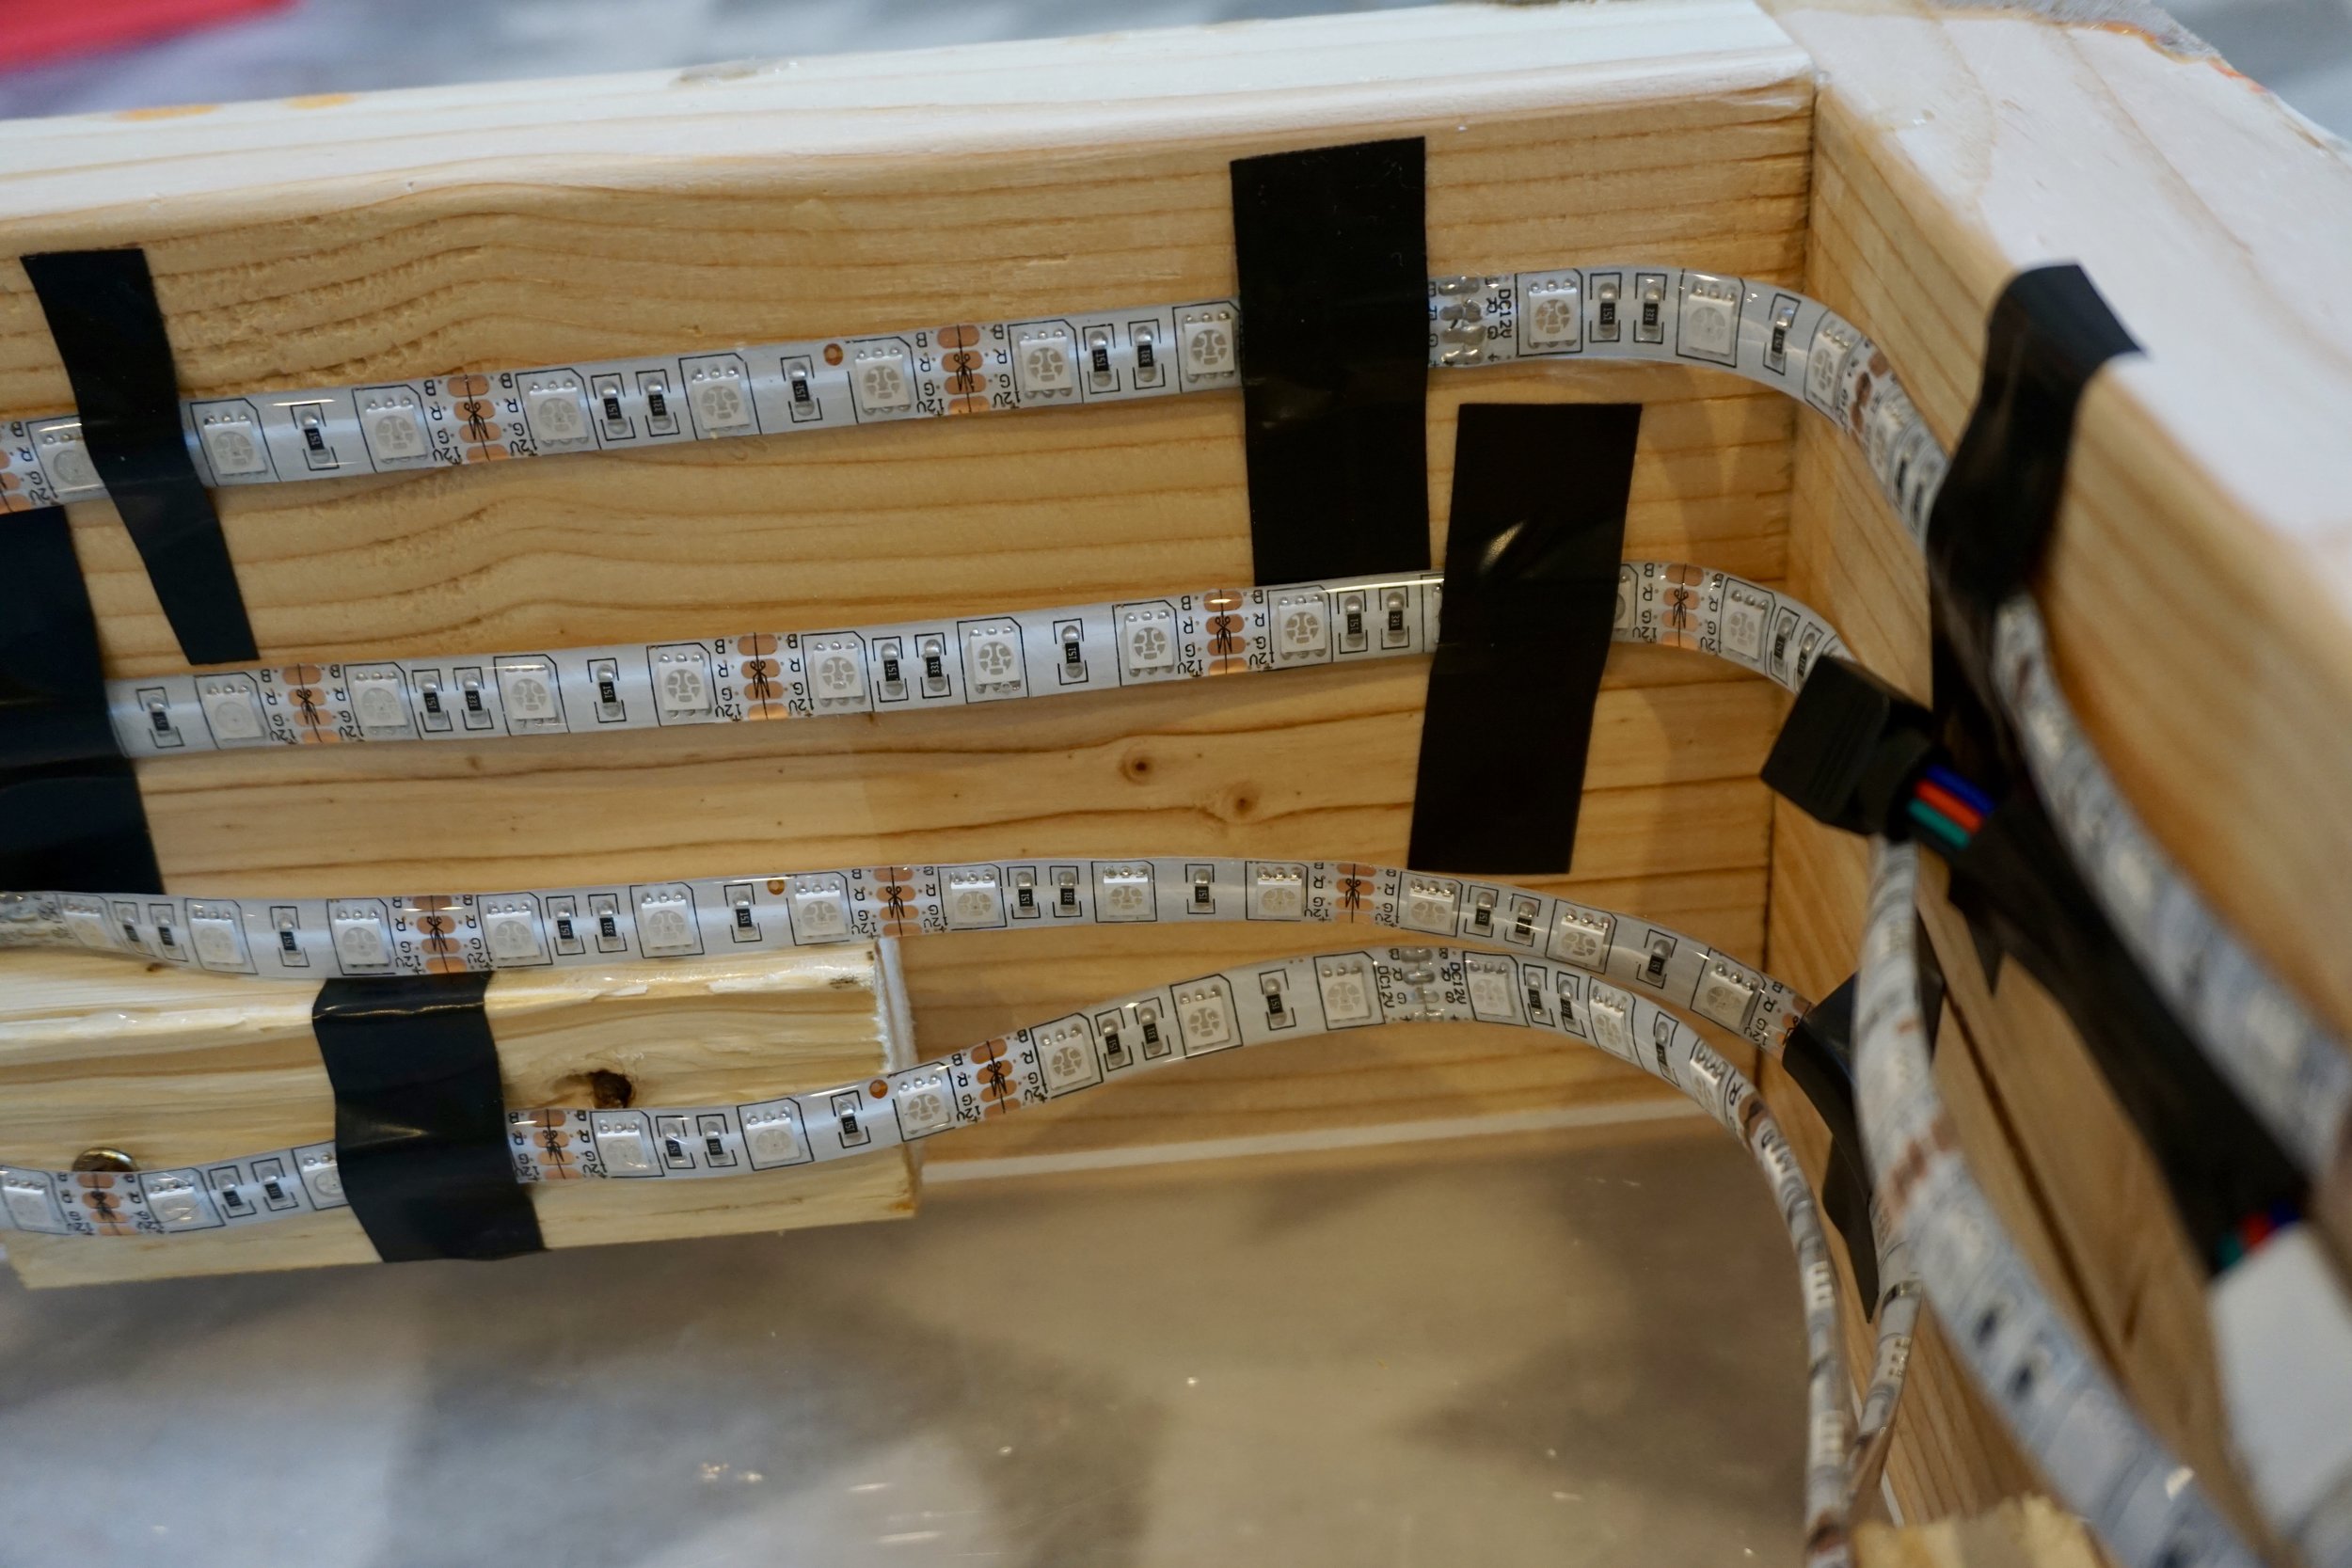
Tape the LED receiver inside the box next to the plug hole. Connect the receiver to the LED strip. Remove the adhesive from the connected end of the LED stip and begin adhering it to the inside faces of the box, beginning at the bottom. Continue wrapping it around until you wrap the entire LED strip. You might go around the box multiple times. Try not to overlap. Use some electric tape to secure the strip better, but try not to tape over any of the LEDs.
Feed your plug through the hole and connect it to the receiver box. Tape the IR receiver (usually a black square) to one of the 1”x2” support blocks facing the top of the box so the remote can communicate with the LEDs better.
Flip your box onto its bottom and place the acrylic piece back in. It should perfectly line up with the wood frame. Use the remote to control your LED lights.
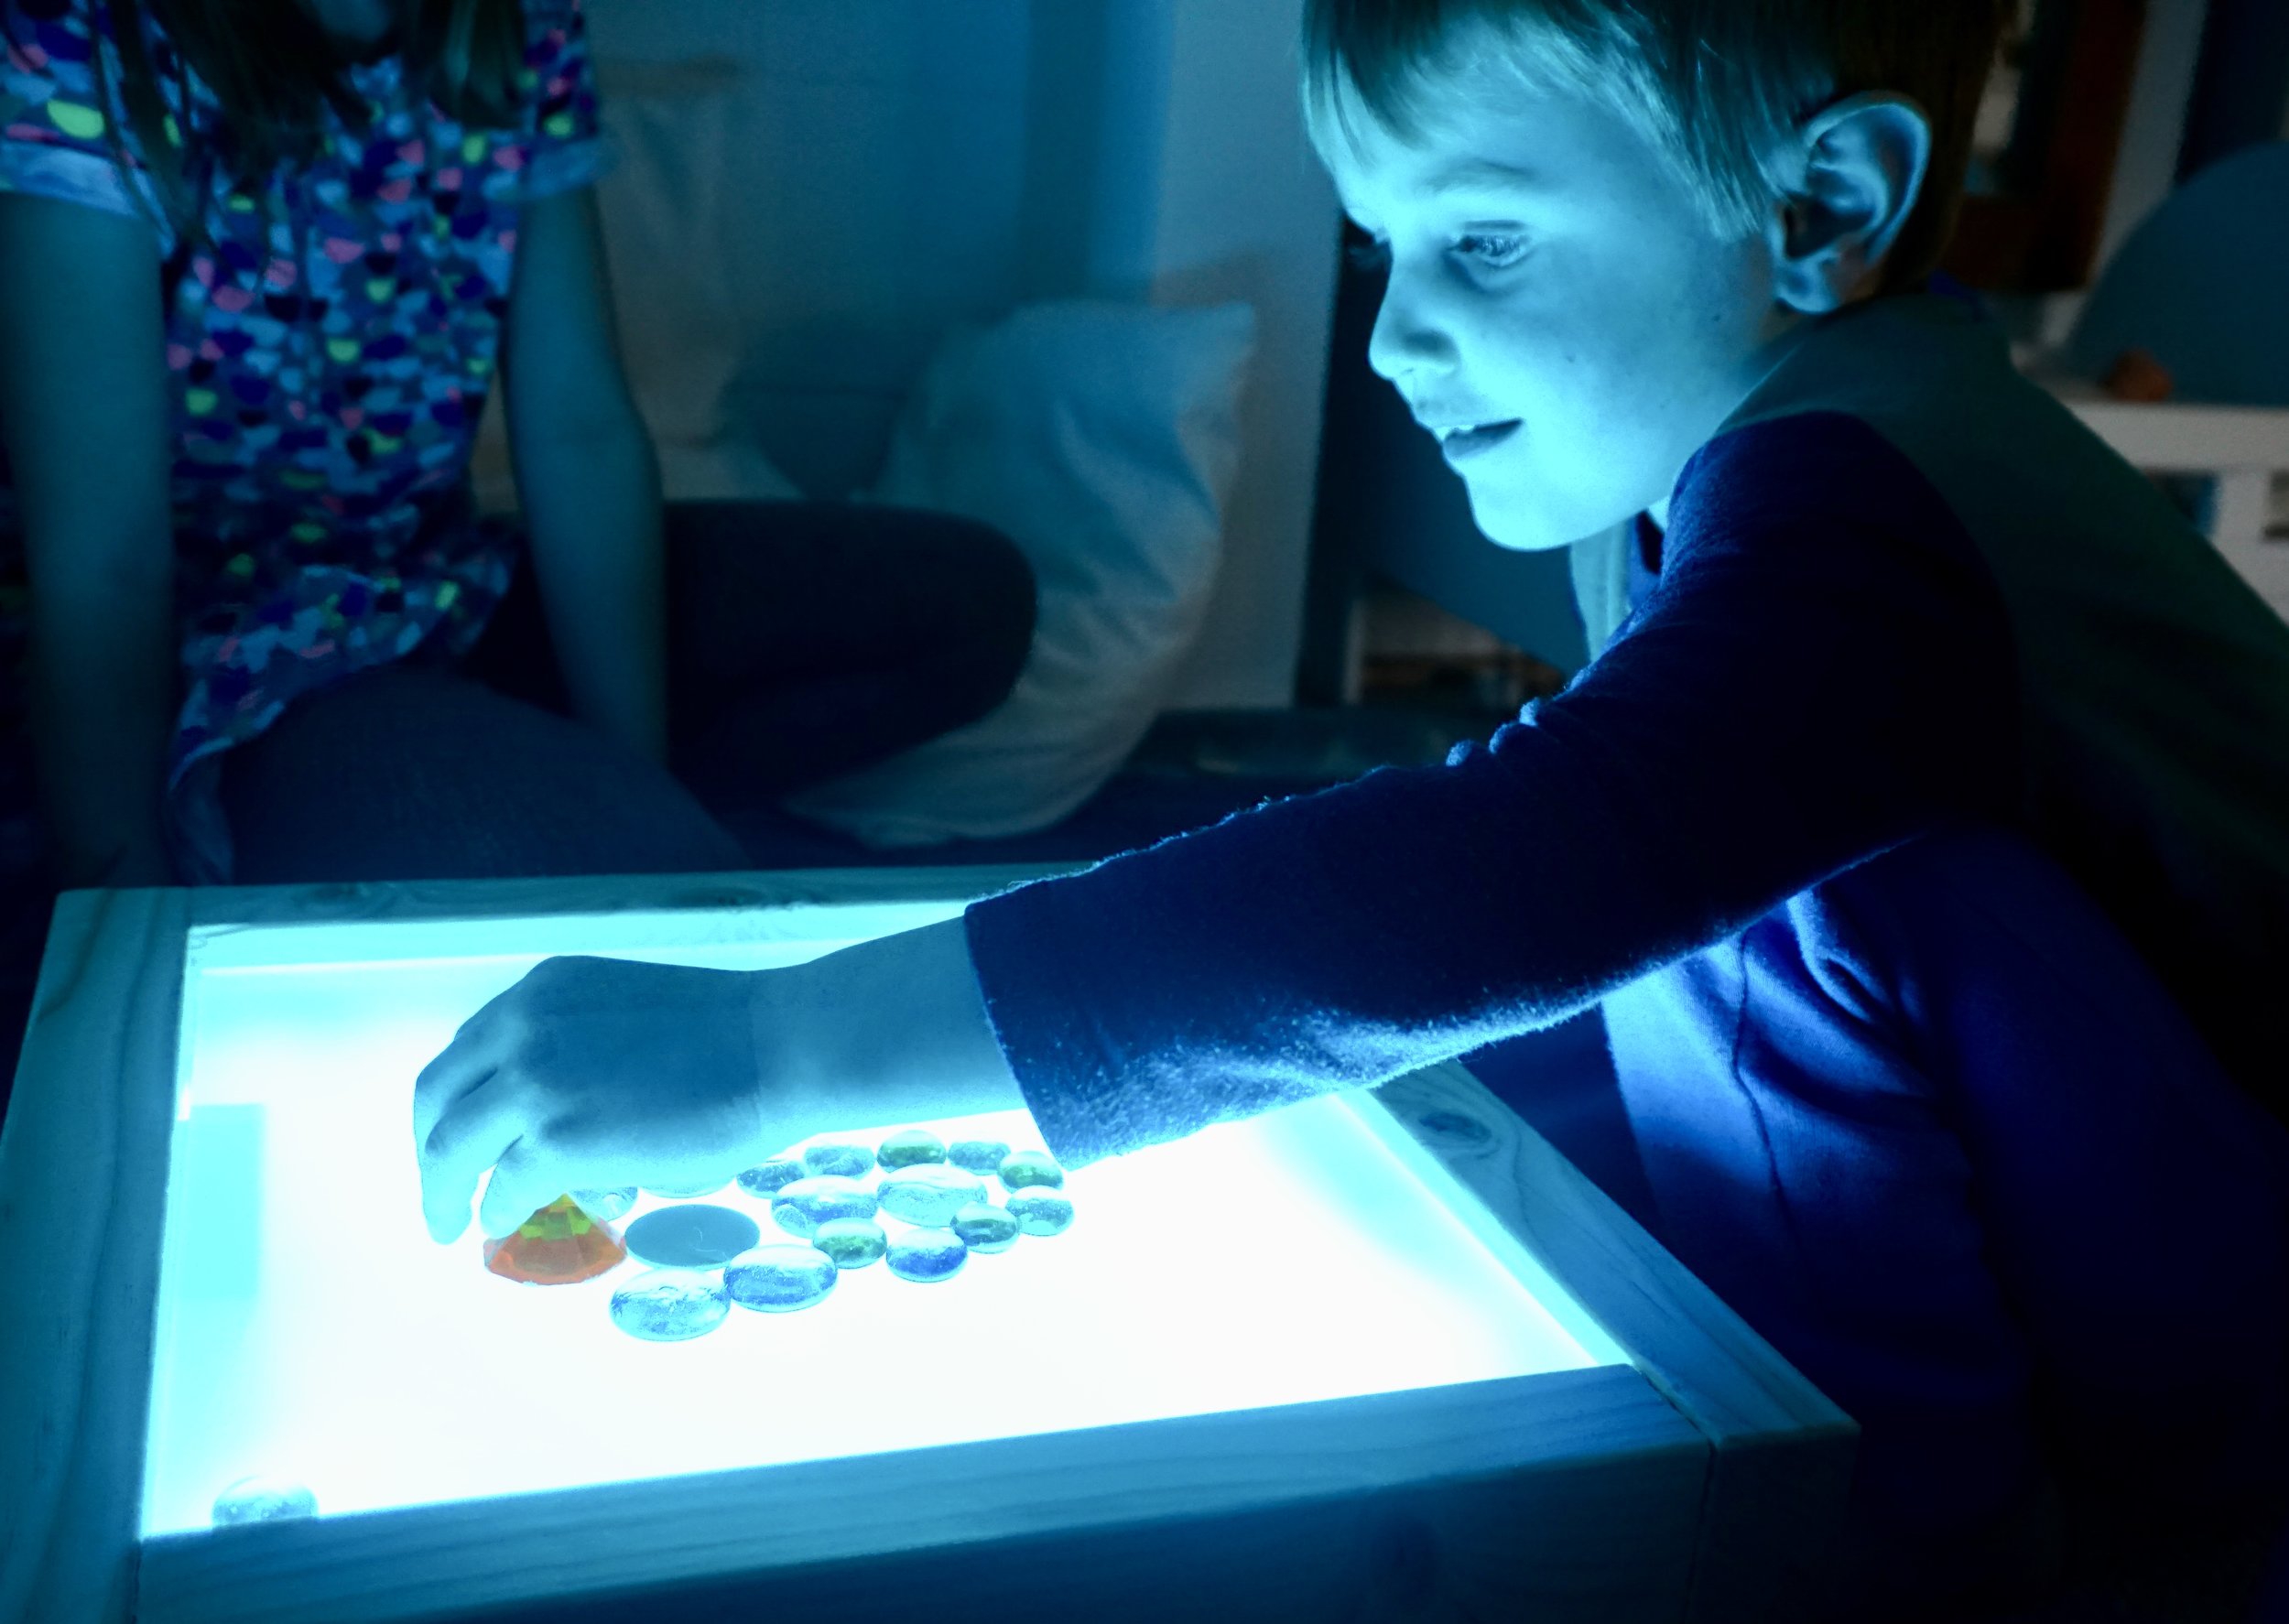
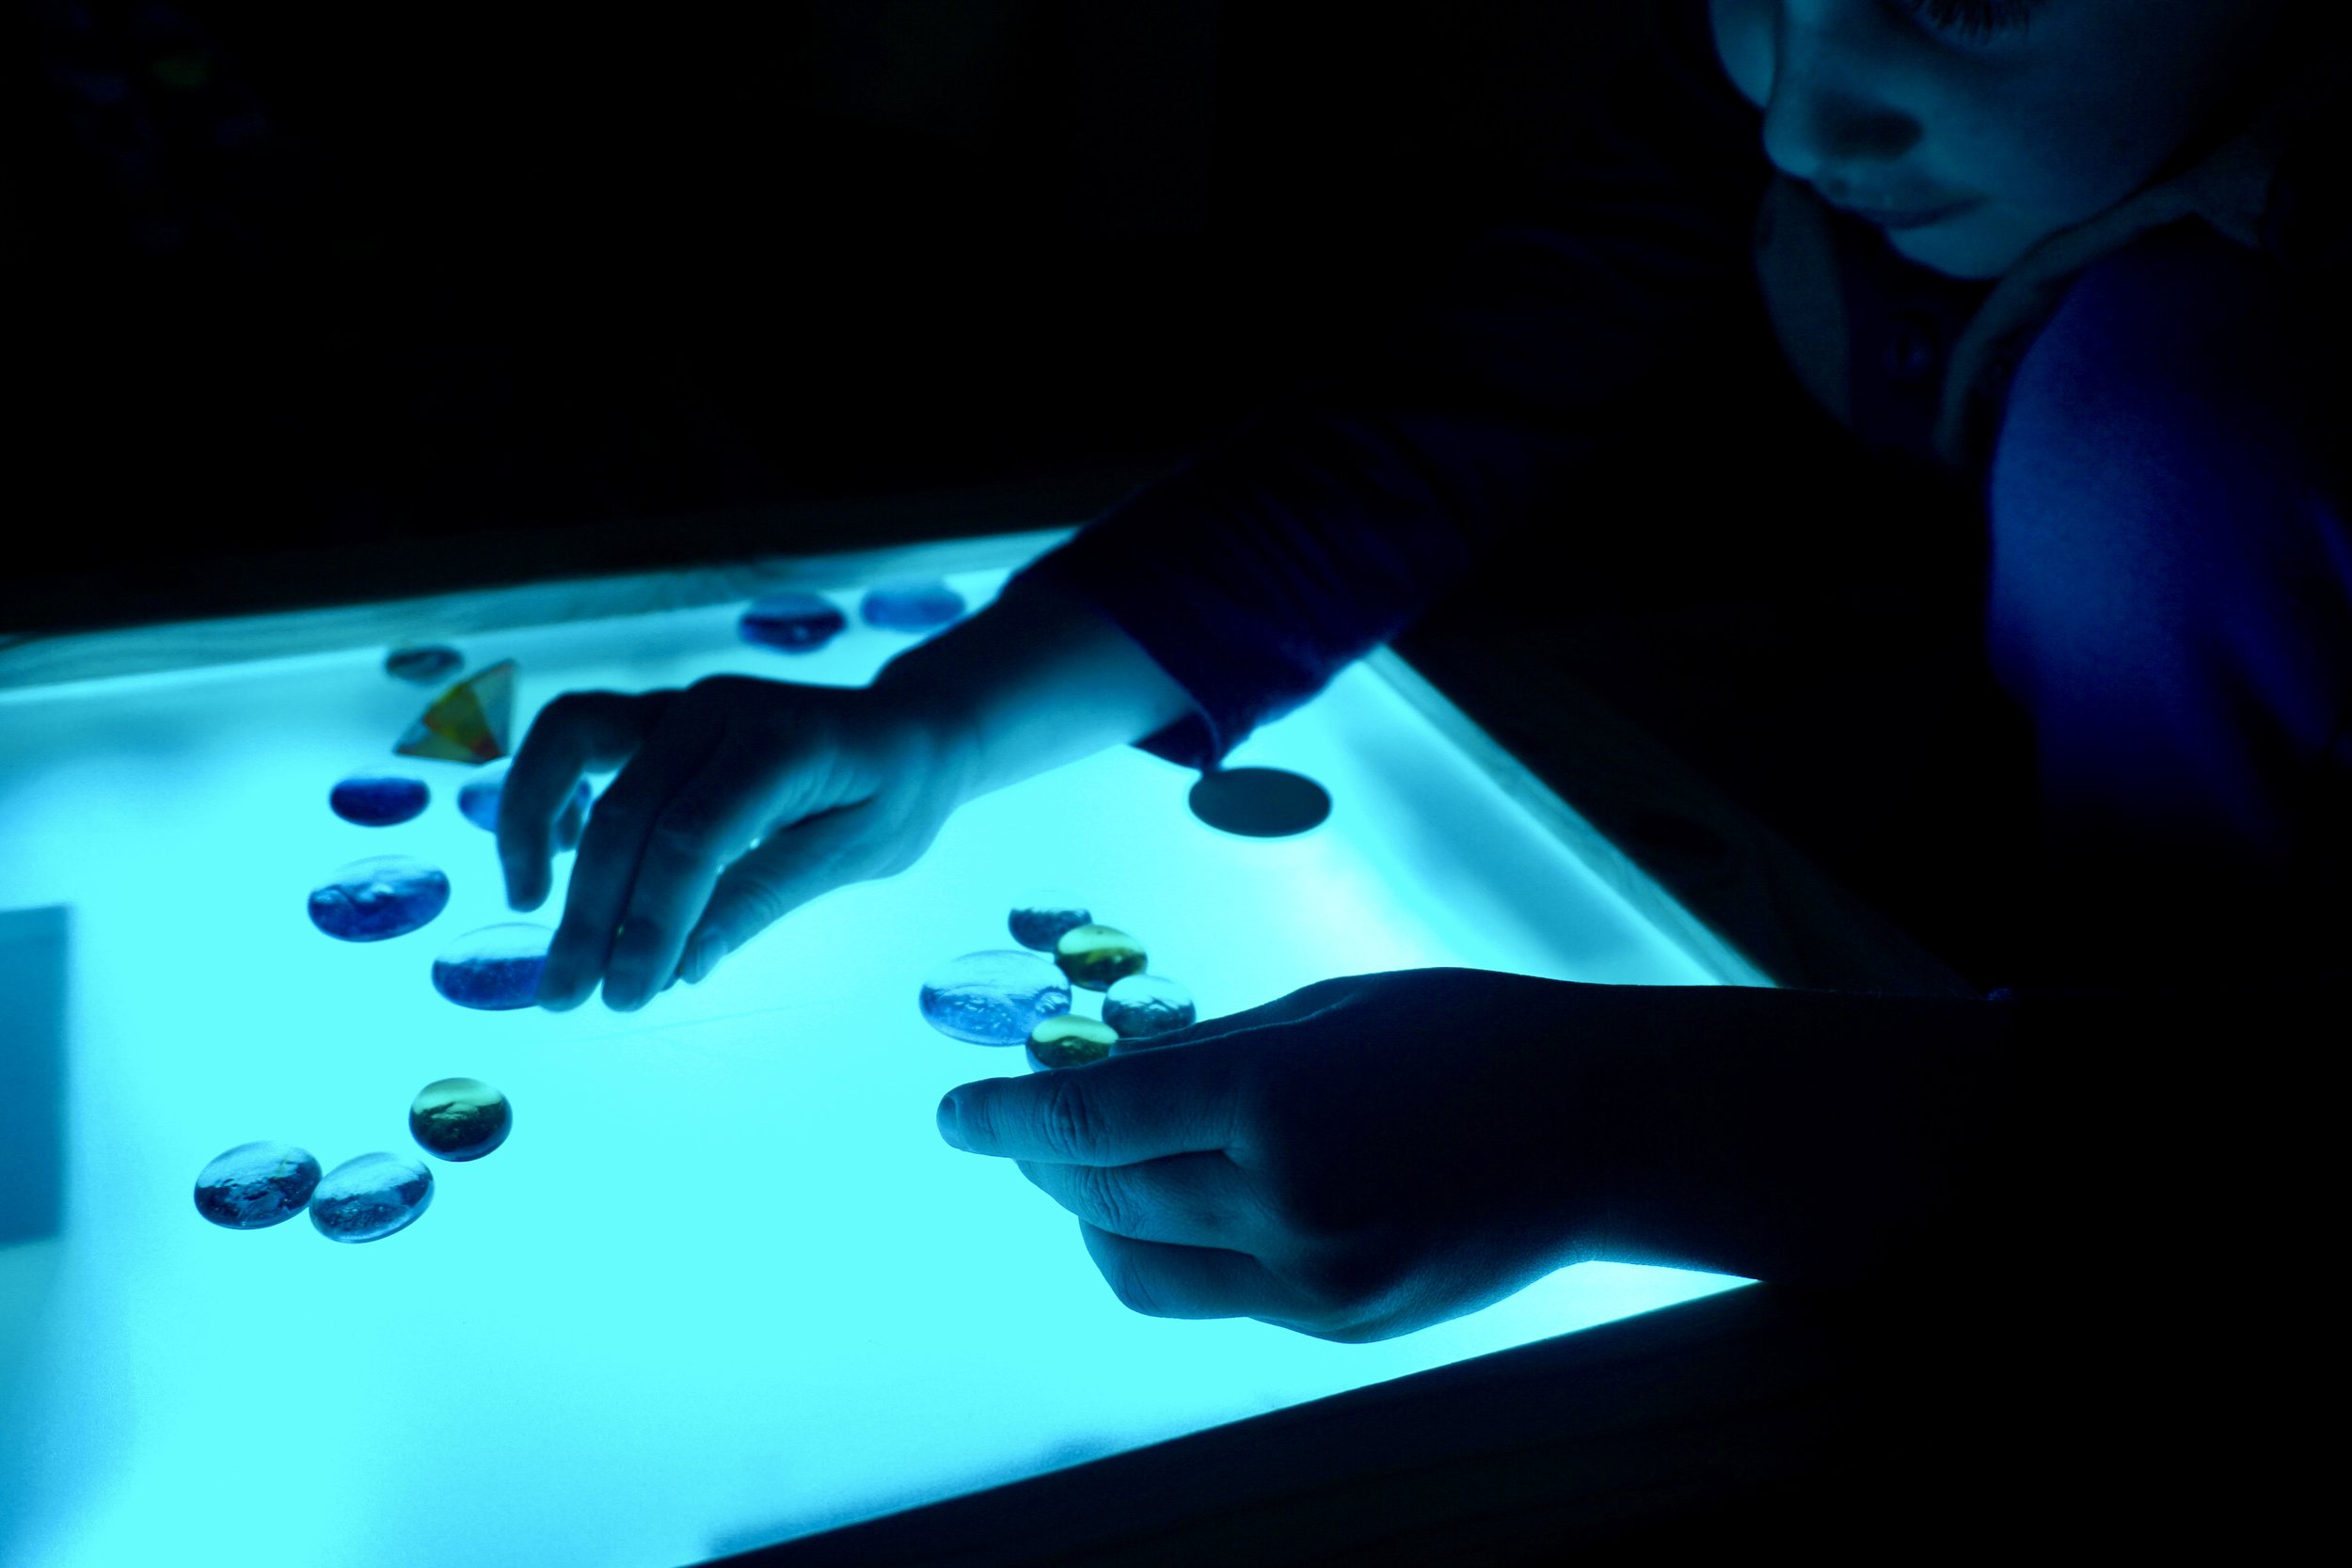
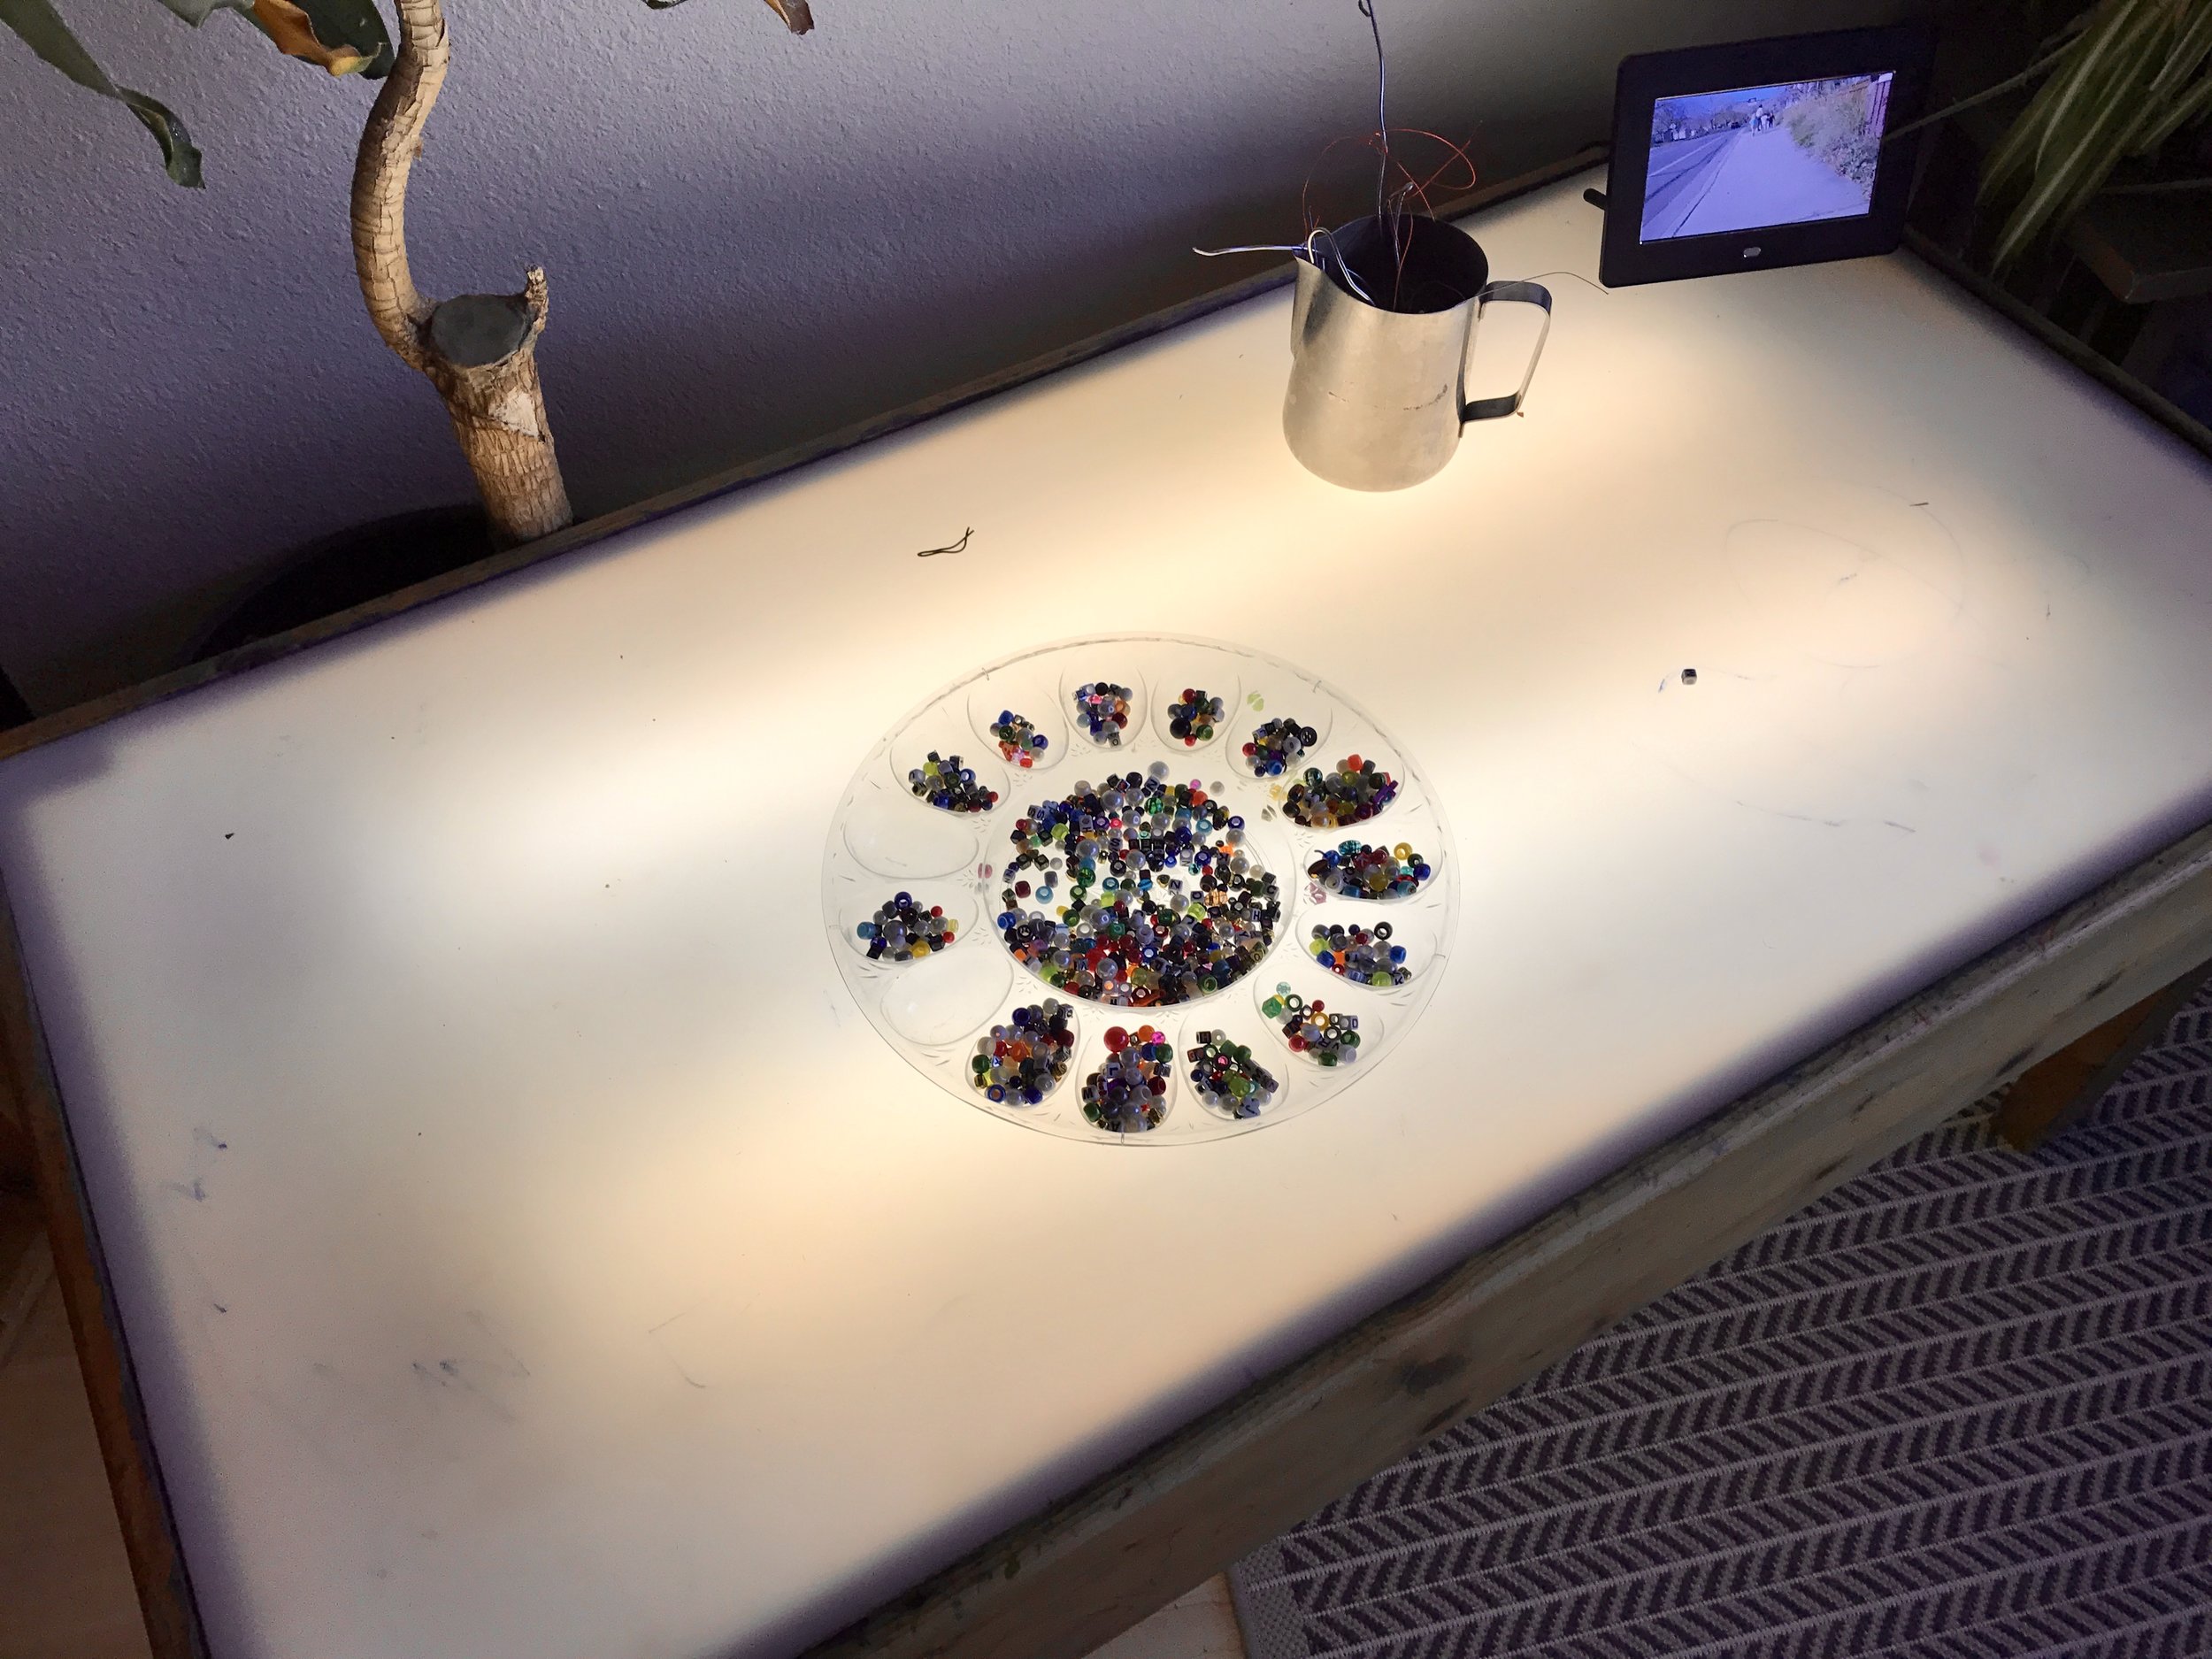
Additional photos below from our light box at Roots & Wings. This project cost around $40 to make. Reach out to megan@rootsandwingsfc.com with any questions!
PS. A huge thank you to my father-in-law, Jim, who helped to build our light table along with our mud kitchen. I'm always grateful for his support, encouragement, and expertise to make my wild ideas into a reality!